Introduction to VMWare Virtual Machine Settings Page
Introduction to VMWare Virtual Machine Settings
You can personalize the virtual machines installed in VMware by adding, modifying, or removing hardware components.
Click on “Virtual Machine (M)” in the menu bar, then click “Settings (S)”.
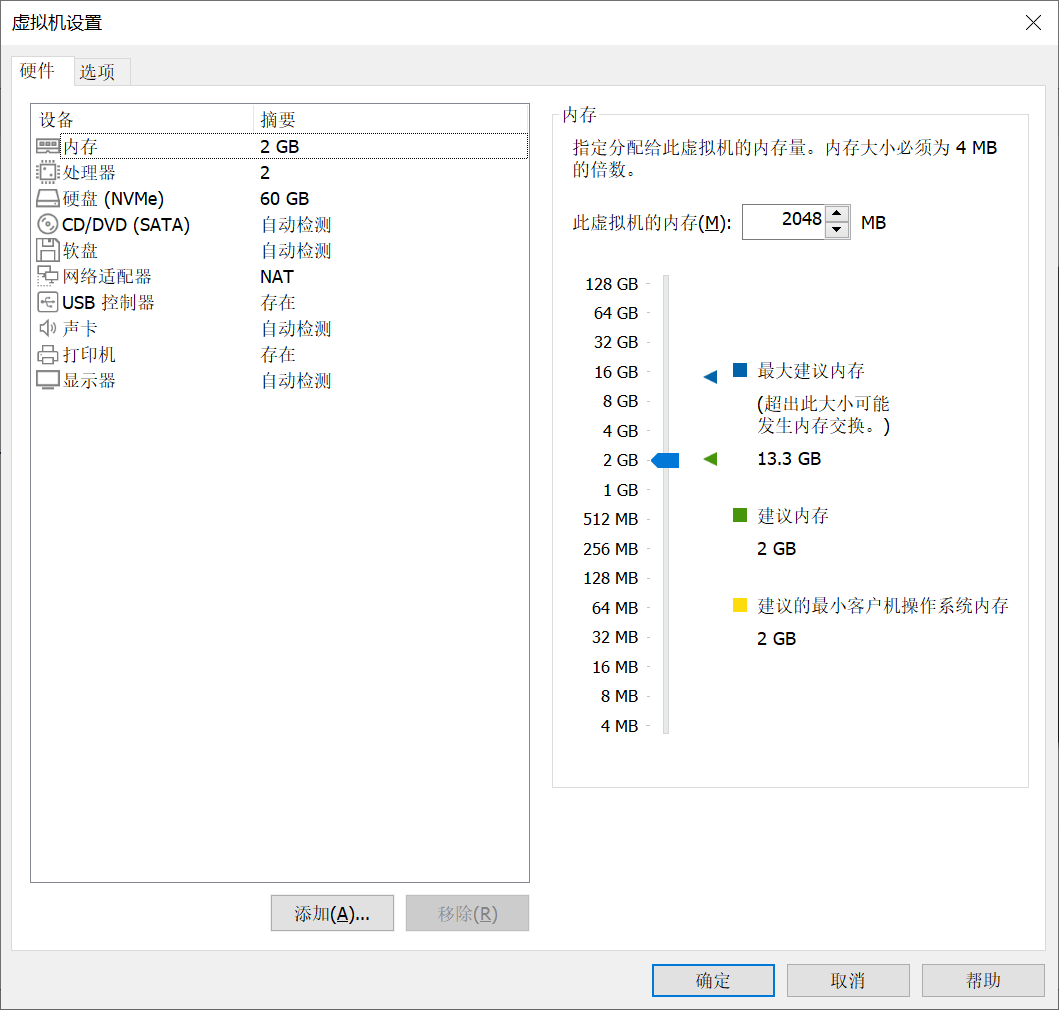
Memory
The more memory allocated, the faster the virtual machine runs. However, you should allocate memory wisely—the more memory the virtual machine gets, the less memory remains for your physical machine.
Processors
No configuration is needed.
Hard Disk
The hard disk size set during virtual machine creation will be displayed here. By default, VMware sets the virtual hard disk size to 60GB. You can add new virtual hard disks here. Once added, it will appear as if a new hard disk has been inserted into the virtual machine.
CD/DVD
This setting is very useful in practice for quickly importing files into the virtual machine. If you select Use physical drive, VMware will automatically detect your physical machine’s optical drive and read the disc.
If you select Use ISO image file, you can choose a disc image file from your computer. Since a disc image file is essentially a “virtual disc,” VMware can treat the ISO file as a disc and “insert” it into the virtual machine.
This is an excellent way to transfer files into the virtual machine. Simply use tools like UltraISO to package the files you want to transfer into an ISO file, and then “insert” it into the virtual machine. (More on this in the next section.)
Floppy Disk
A relic of the past—this is why computers no longer have A: or B: drives. You can safely remove it.
Network Adapter
Configures the virtual machine’s network connection. If your virtual machine is already connected to the network properly, no changes are needed.
USB Controller and Sound Card
Self-explanatory.
Printer
Not very useful inside a virtual machine; you can delete it.
Display
No changes are required.