The most powerful file transfer tool on a personal computer: Http File Server
The Most Powerful File Transfer Tool for Personal Computers: Http File Server
I rarely talk about software, usually focusing on Windows systems. The fact that I’m recommending this tool today speaks volumes about its power.
In today’s world, file transfer apps for mobile phones are abundant—File Flash Transfer, Multi-Track Fast Transfer, Dropbox, and numerous open-source solutions are all excellent in their own ways. However, software that turns your computer into a server providing file transfer services to other devices is far less common.
Today, I’m excited to introduce the most powerful file transfer tool for personal computers: Http File Server, or HFS3.
Introduction to HFS3
HFS3 is the third generation of the HFS software, representing the latest iteration of HTTP File Server.
HFS3 is fully open-source. The repository is on GitHub: https://github.com/rejetto/hfs
HFS transforms the computer running it into an HTTP server, allowing other devices to access, manipulate, and download files and folders from that computer.
Supported Systems
HFS3 supports the following operating systems:
Windows Linux macOS
This article uses Windows as an example to demonstrate the installation, configuration, and usage of HFS3.
Installing HFS3
Open the official HFS3 release page:
https://github.com/rejetto/hfs/releases/tag/v0.57.16
HFS3 is updated frequently, so keep an eye on the latest releases.
Since accessing the HFS3 official website can be difficult from within China, I’ve provided a mirror download. Follow me and reply with “hfs” in the background to get the HFS3 installer (v0.57.16) as of September 14, 2025.
Once you’ve downloaded the HFS3 installer, simply extract it and double-click hfs.exe to run HFS3.
Configuring HFS3
After running hfs.exe, a command prompt window appears as the software initializes. Once initialization is complete, your browser automatically opens, displaying the HFS3 admin control panel. The interface is in English only—there’s no Chinese option. However, the HFS front-end does support Chinese; it’s just the back-end that doesn’t. You can use your browser’s translation feature to translate the admin panel.

- Clicking
front-endin the image above opens the front-end file browsing page. - The three blue buttons below are Check for Updates, Get Other Versions, and Dark Theme.
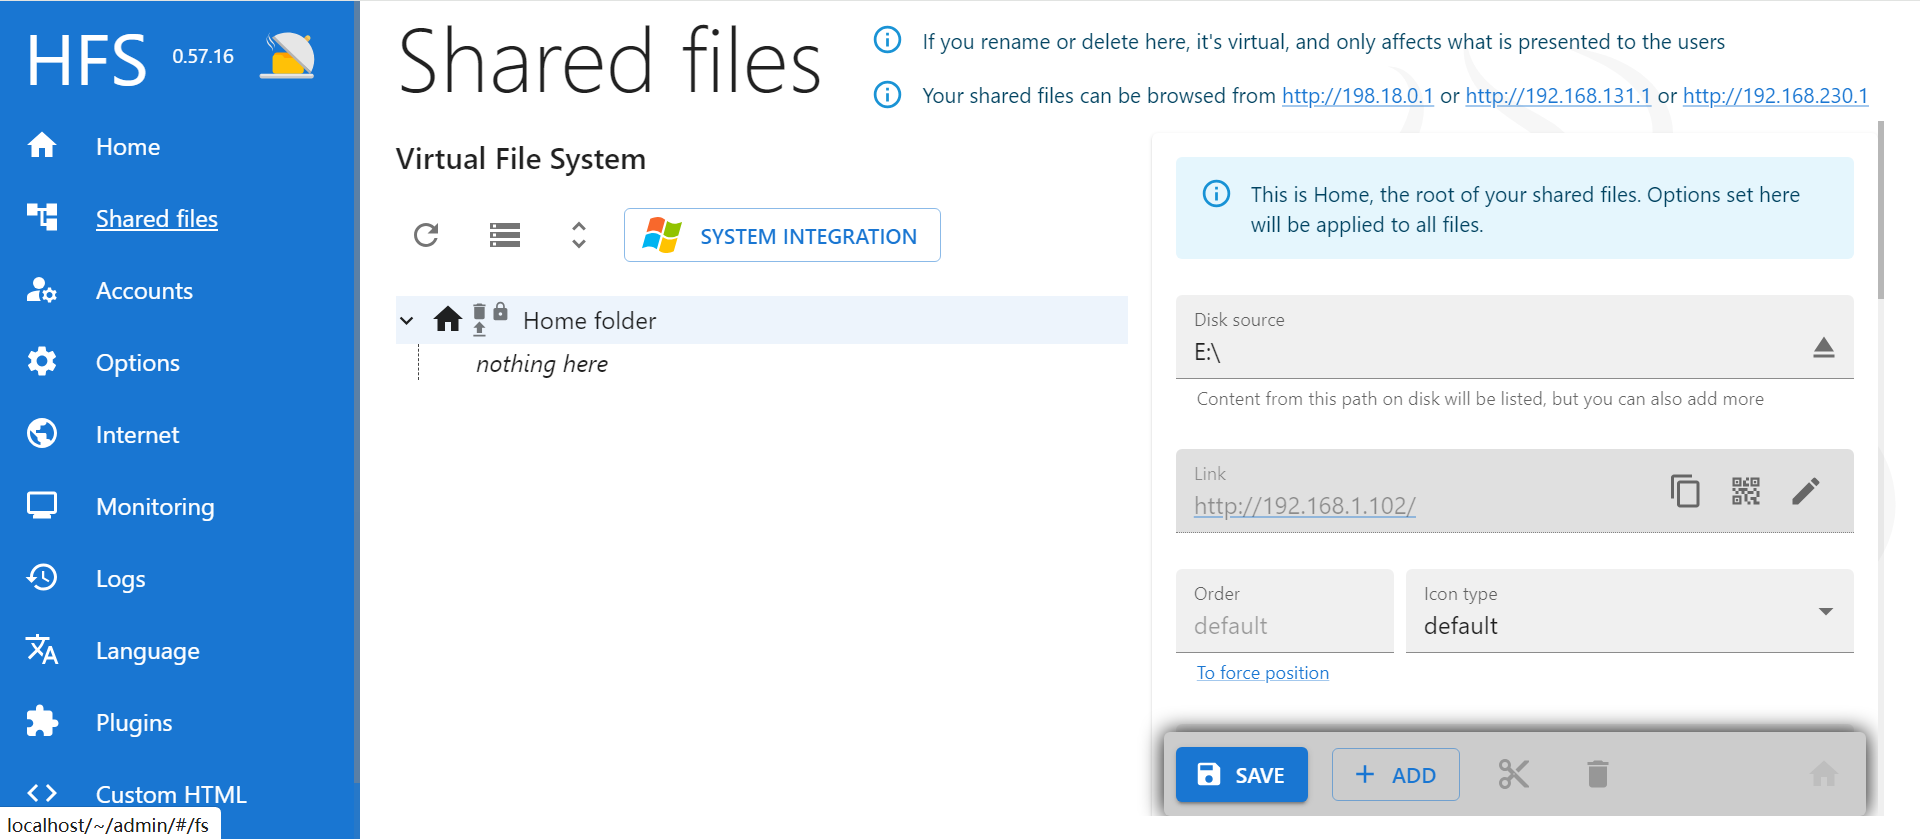
The Shared Files interface allows you to configure which local files are shared, along with upload/download restrictions and other policies.
- Disk source: Sets the directory for shared files. In the image above, the directory is set to drive E.
You can choose a folder or a partition by entering the path in the disk source field or clicking the triangle icon on the right to select a shared path. - Link: Sets the IP address for accessing the host machine. The default is automatic, but if you use a static IP or have specific requirements for a particular IP address, you can change it to a fixed address. Click the pencil icon on the right to configure.
There’s also a choice between HTTP and HTTPS. Since there’s no security certificate, I recommend using HTTP.
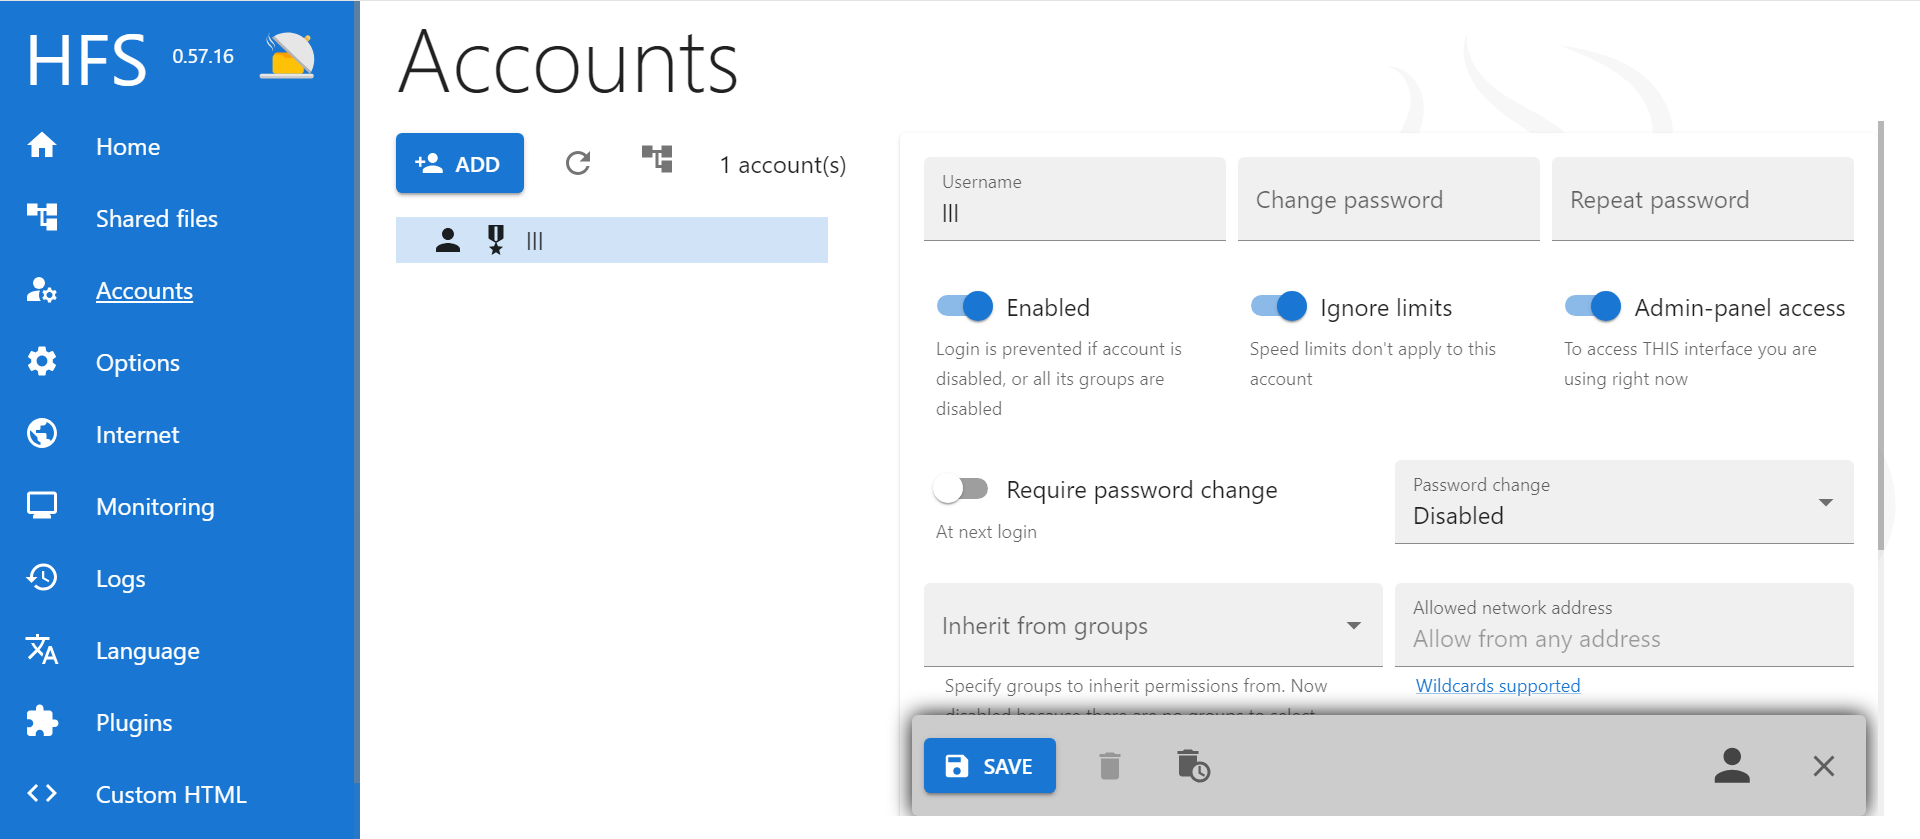
The Accounts interface lets you add accounts that can access the computer.
You can add accounts in bulk via a CSV file or manually one by one. I strongly recommend adding at least one administrator account (can login to admin) and one regular account.
How to Set an Account as Administrator?
Click on the account, then select enabled, ignore limits, and admin-panel access (most important) on the right to set it as an administrator. After adding accounts, return to the Shared Files interface to set granular permission policies—specifying which accounts can download files, preview files, download packages, upload files, delete files, and so on.
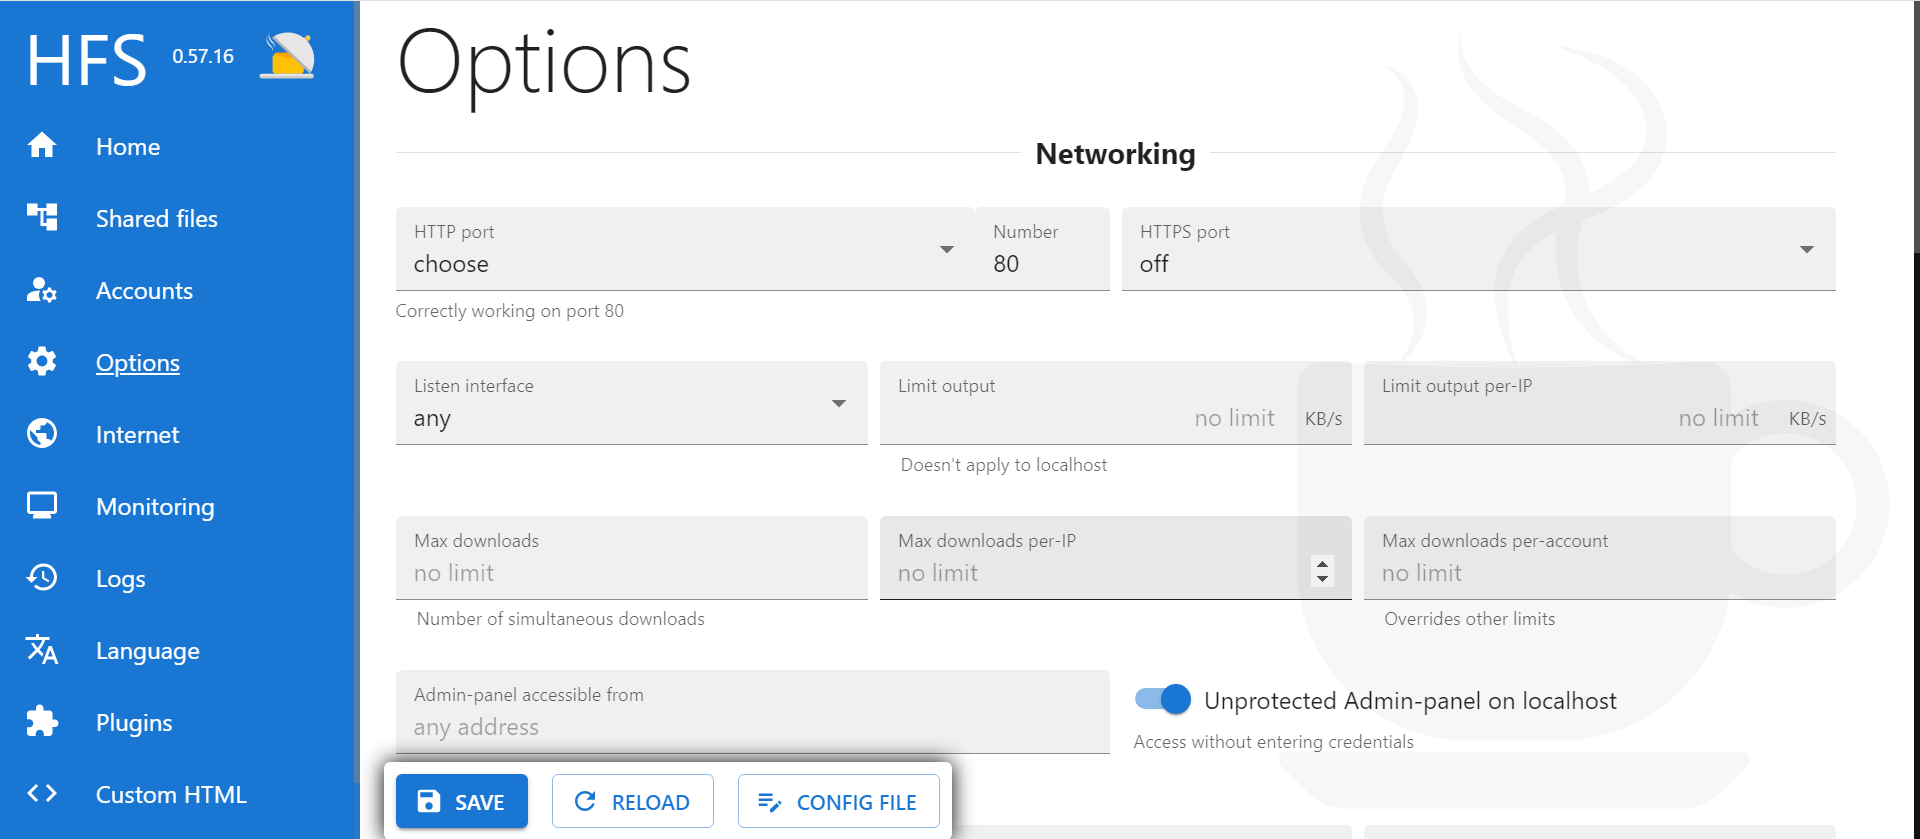
The Options interface controls HFS’s core functionality.
- HTTP port: Selects the access port. The default of 80 works fine.
- The limit options below are for restrictions, including upload speed limits, download speed limits, IP address access restrictions, admin panel IP restrictions, HTTP proxy access, website redirects, and other advanced features. Most of these aren’t needed for everyday use, so leaving them at their defaults is fine.
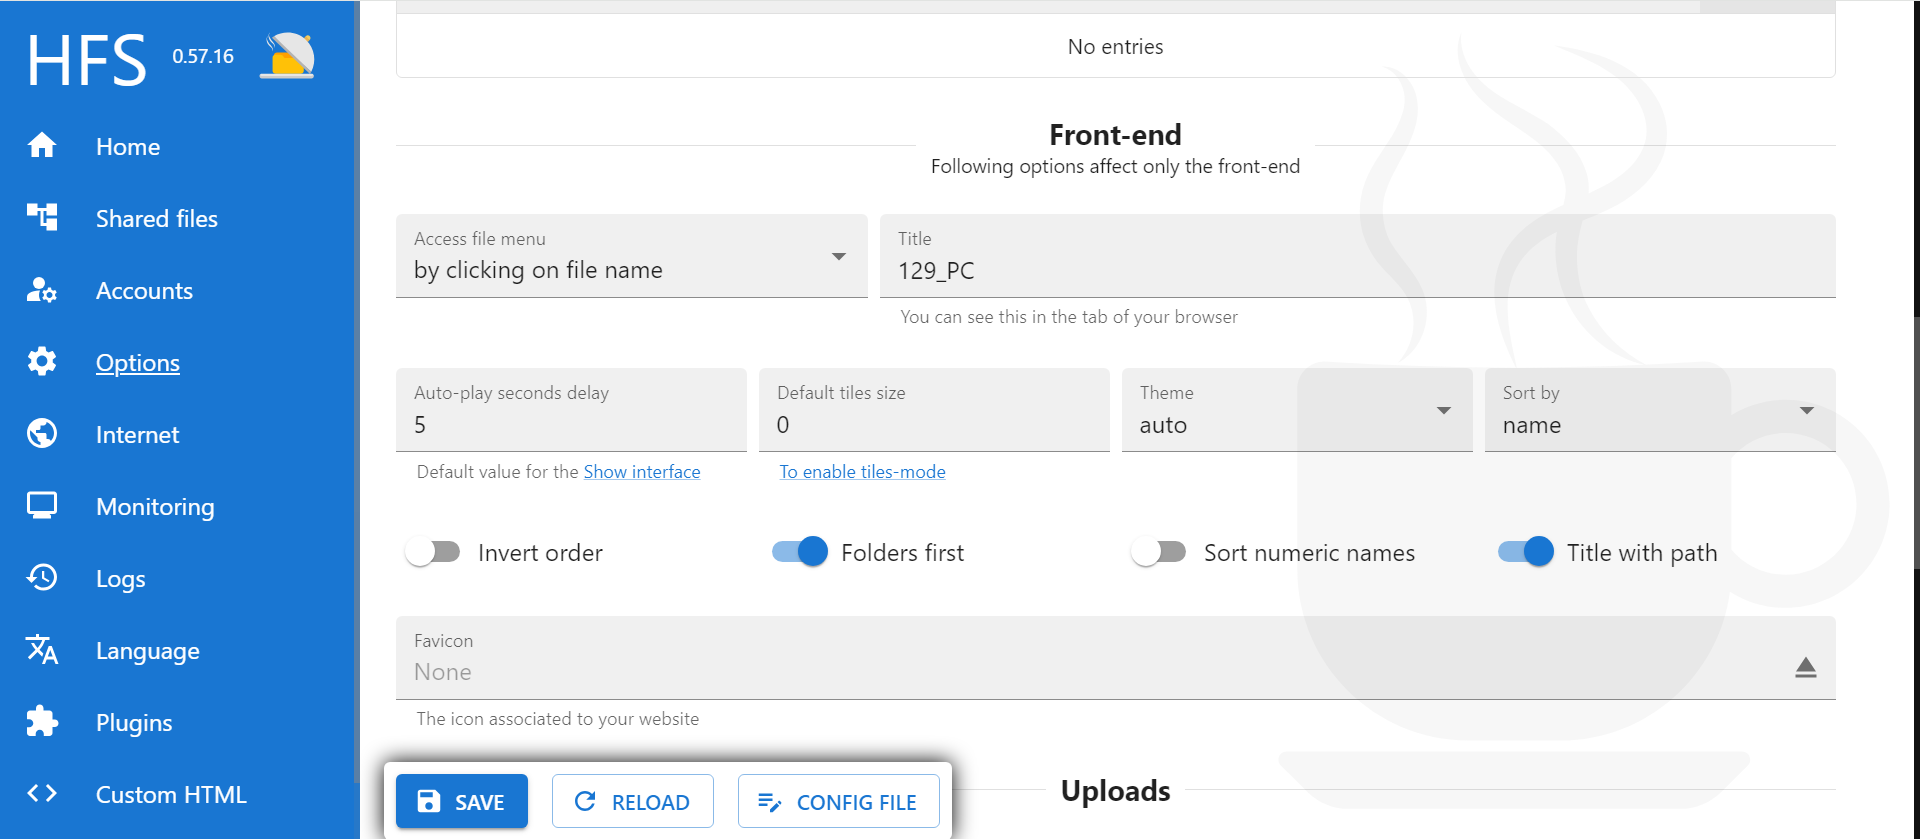
The Front-end section below configures the interface that users see.
- Title: The name of the webpage, which you can customize freely.
- The remaining settings below are generally not useful for regular users and can be ignored.
- Show hidden files: Toggle this on or off to display hidden files.
- Uploads don’t overwrite: When enabled, uploading a file with the same name won’t replace the existing file; instead, the uploaded file will be renamed.

The Internet interface handles network settings.
- Assign different virtual file systems to different domains, so users accessing different domains only see the folders you’ve configured for that domain.
Many options on this page relate to domains. However, for personal use, you typically don’t need a domain—just an IP address is sufficient to access the server.
Due to the current network environment in China, obtaining a public IPv4 address is extremely difficult. Scenarios where HFS is accessed over the public internet (unless using intranet penetration or tunneling) are almost nonexistent for individuals. Therefore, this page’s configuration is largely irrelevant for Chinese personal users.
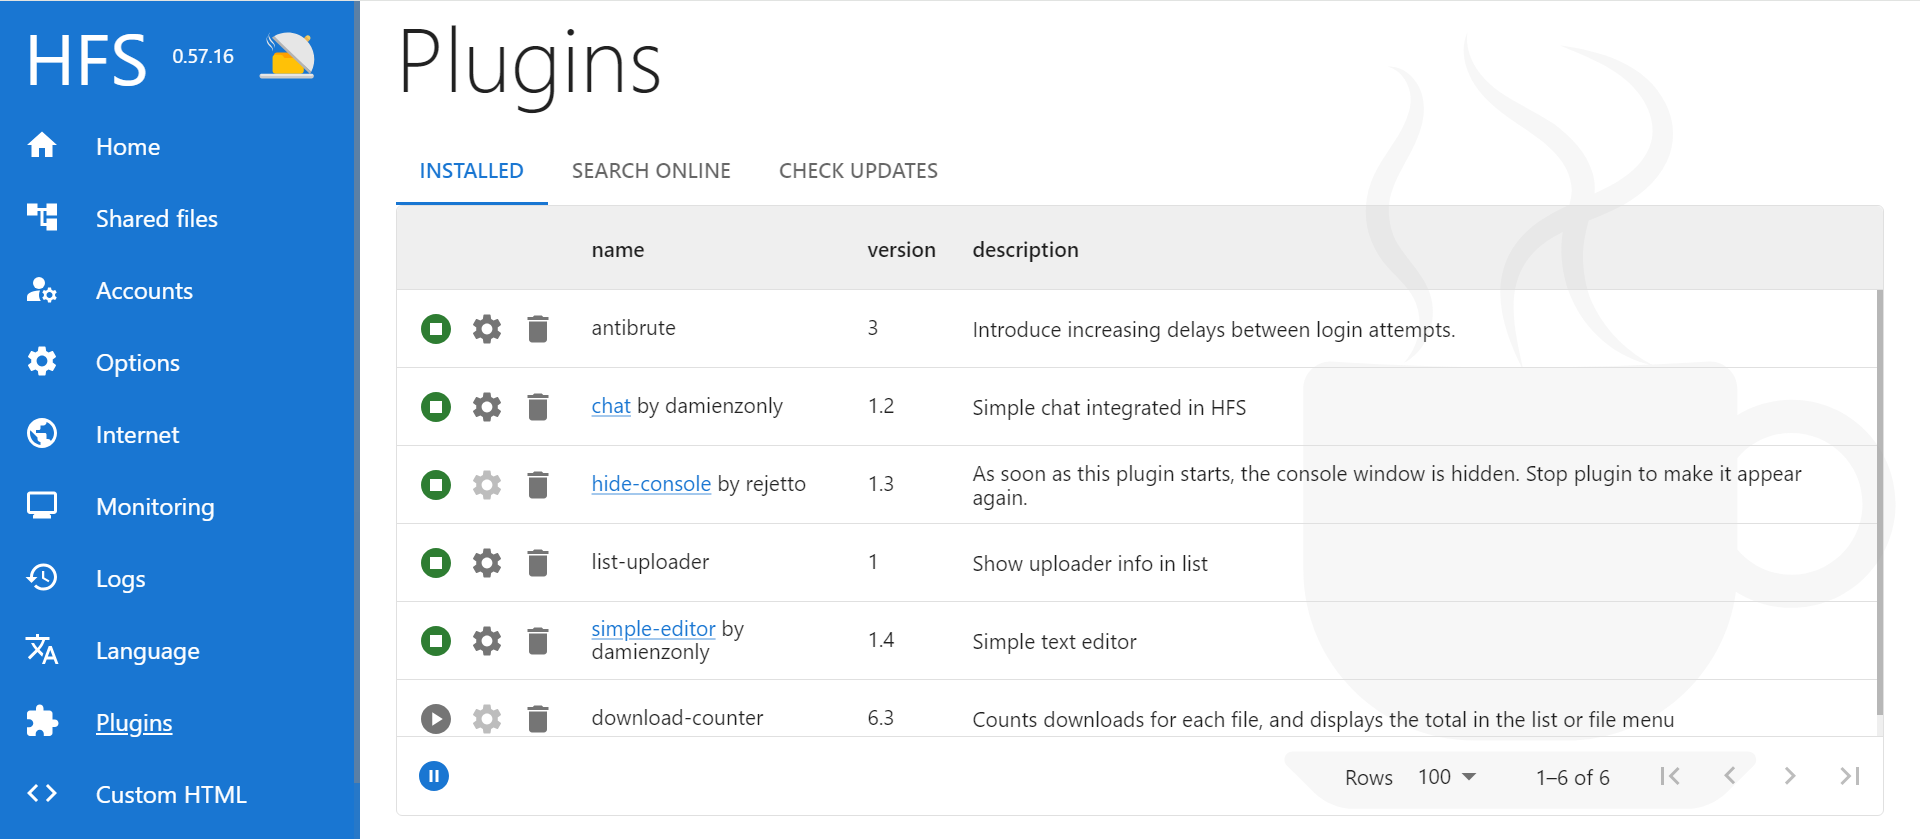
The Plugins interface manages HFS3 plugins.
HFS3 plugins are installed by default in the plugins directory, which is at the same level as hfs.exe. Plugins add diverse functionality to HFS, making it more convenient and practical.
HFS plugin types include:
- Theme plugins
- Upload/download control plugins
- Interface customization plugins
- Other functional plugins
Recommended plugins:
- chat
This plugin allows users to send messages directly in a chat-like dialog box on the HFS file browsing interface. Chat history is stored on the computer running HFS, specifically in the text fileplugins\chat\storage\chat. Stopping the HFS service and deleting this file will clear all chat history the next time users open the webpage. - hide-console
When running, this plugin hides the black command-line window of HFS, allowing it to run in the background with no visible interface. To show the command-line window again, simply click to stop this plugin in the browser.
To download HFS plugins, click search online above. However, due to the network environment in China, you may need certain measures.
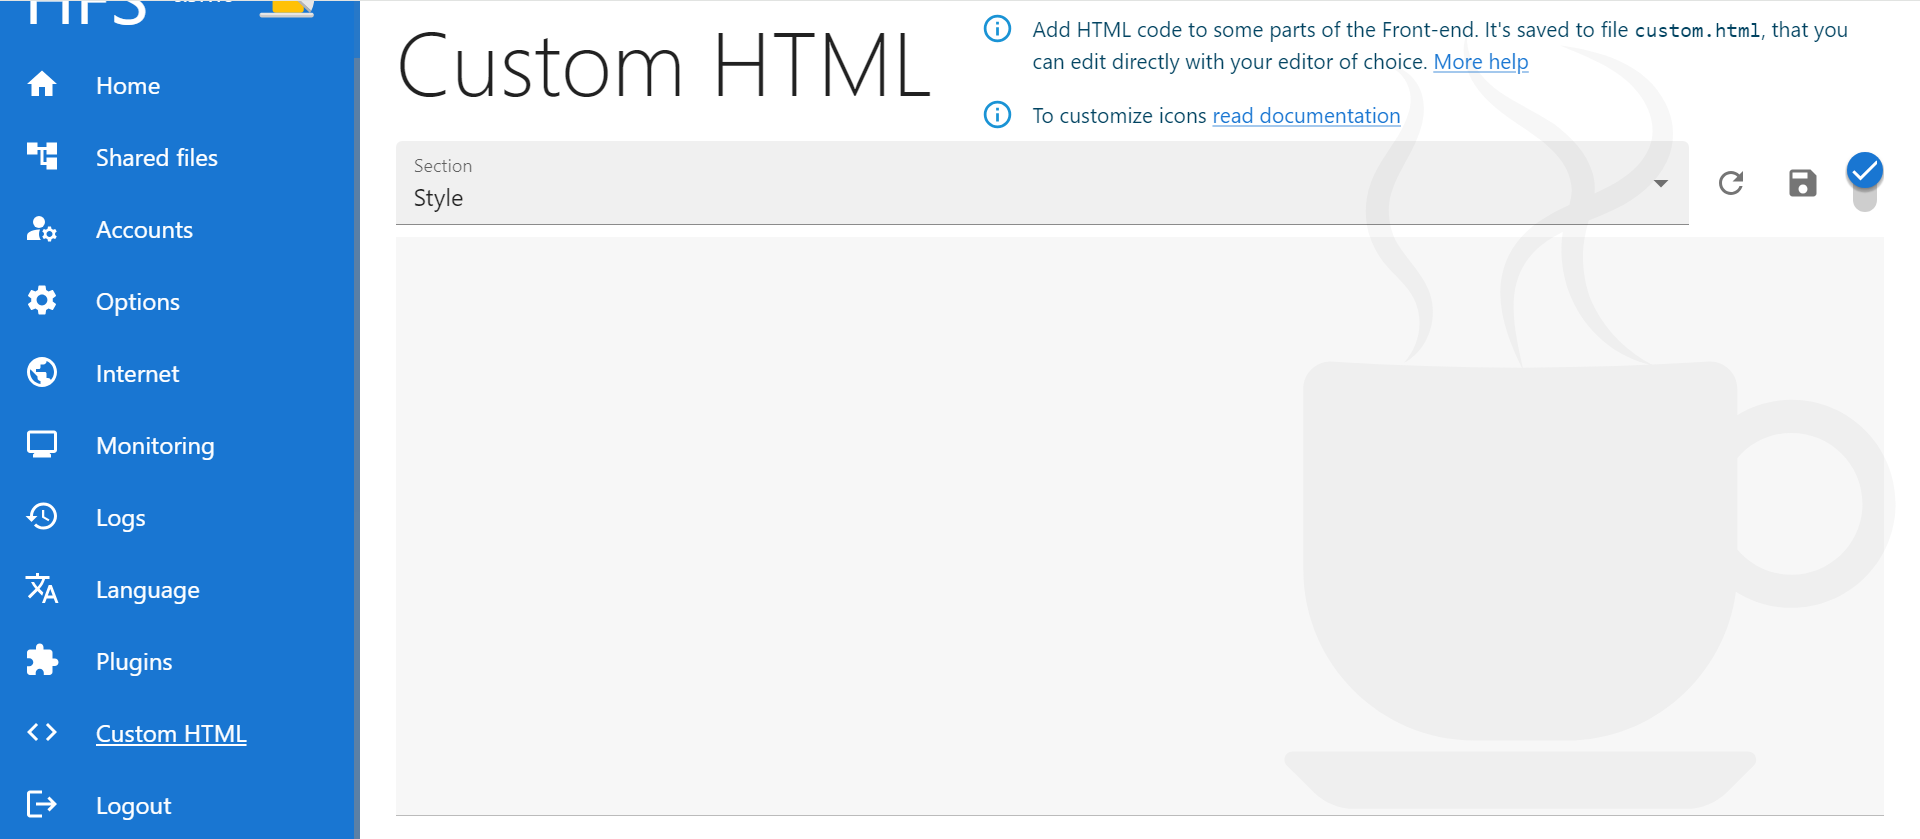
The Custom HTML interface lets you configure a custom front-end webpage.
- If you have the skills to design your own HFS front-end HTML file, you can enter the HTML code here.
Additionally, HFS allows you to design your own index.html file. As long as an index.html file exists in the same folder as hfs.exe, you can enable Serve as web-page if index.html is found at the bottom of the Shared Files interface. This will directly serve that file, displaying its content when users open the webpage.
That covers the basic configuration of HFS3. If you’re interested, feel free to explore other more advanced features on your own.