Installing Windows System Using PE
Installing Windows Using PE
Installing Windows using PE is an advanced system installation method. By installing the operating system this way, you can experience the true out-of-box experience of Windows while bypassing Microsoft’s official TPM checks, allowing computers that don’t meet the requirements to run higher versions of Windows.
This article will briefly explain how to install an operating system using PE. The underlying principles will be covered in detail in a future article.
Please do not experiment on your physical machine! Use a VM virtual machine to install Windows within PE!
Scenario Setup:
Suppose the Windows 10 system you installed in the ninth article has become corrupted. You need to use the PE system to format its C drive and reinstall a fresh Windows 10.
Steps:
1. Add a virtual optical drive to the virtual machine and select the Micro PE ISO file (remember to connect it at startup).
2. Boot into the firmware, select the CDROM option to enter the PE system.
3. Format the main system's C drive (be careful to distinguish which one is the main system's C drive).
4. Add another virtual optical drive to the virtual machine and select the Windows 10 ISO image (remember to connect it).
5. Open "Windows Installer" (English name: WinNTSetup).
WinNTSetup Configuration
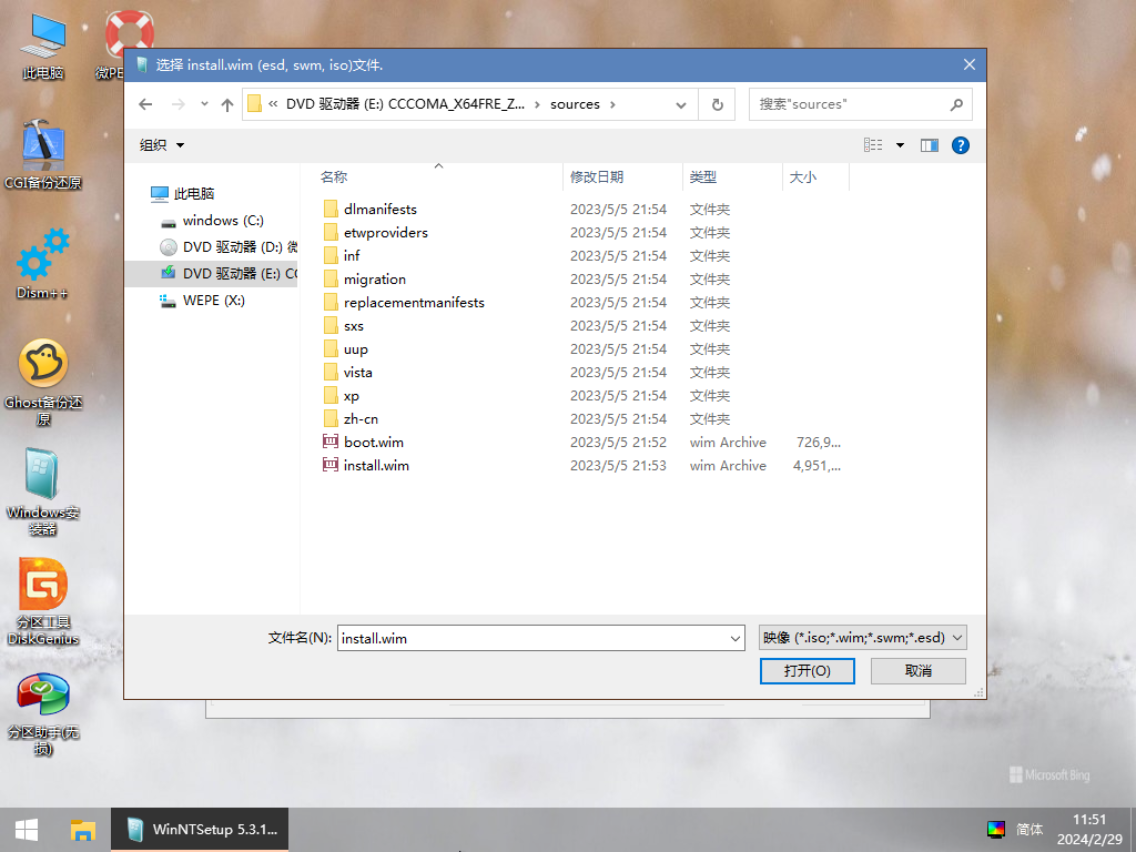
1. Select the Installation Image File Location:
1. Click "Select."
2. You can see from the search box below that it actually wants you to locate and select the `install.wim` file.
3. Click on the virtual optical drive simulated by the Windows 10 ISO (DVD drive).
4. Open the `sources` folder.
5. Select `install.wim`.
2. Select the Boot Drive Location:
1. Click the downward arrow and select the partition marked in green (the principle will be explained later).
2. If the dot next to "EFI PART" is green, your selection is correct.
3. Select the Installation Drive Location:
1. Click the downward arrow and choose which partition you want to install Windows on based on the listed partition sizes.
4. Miscellaneous:
1. Select "Windows 10 Pro" as the Windows version.
2. "Mount installation drive as: C" means you can customize the system drive letter. You can freely choose your system drive letter here.
3. Click "Install" in the bottom right corner.
4. On the next page, simply click "OK."
Wait for a short while. WinNTSetup is extracting Windows 10 system files to the selected system partition.
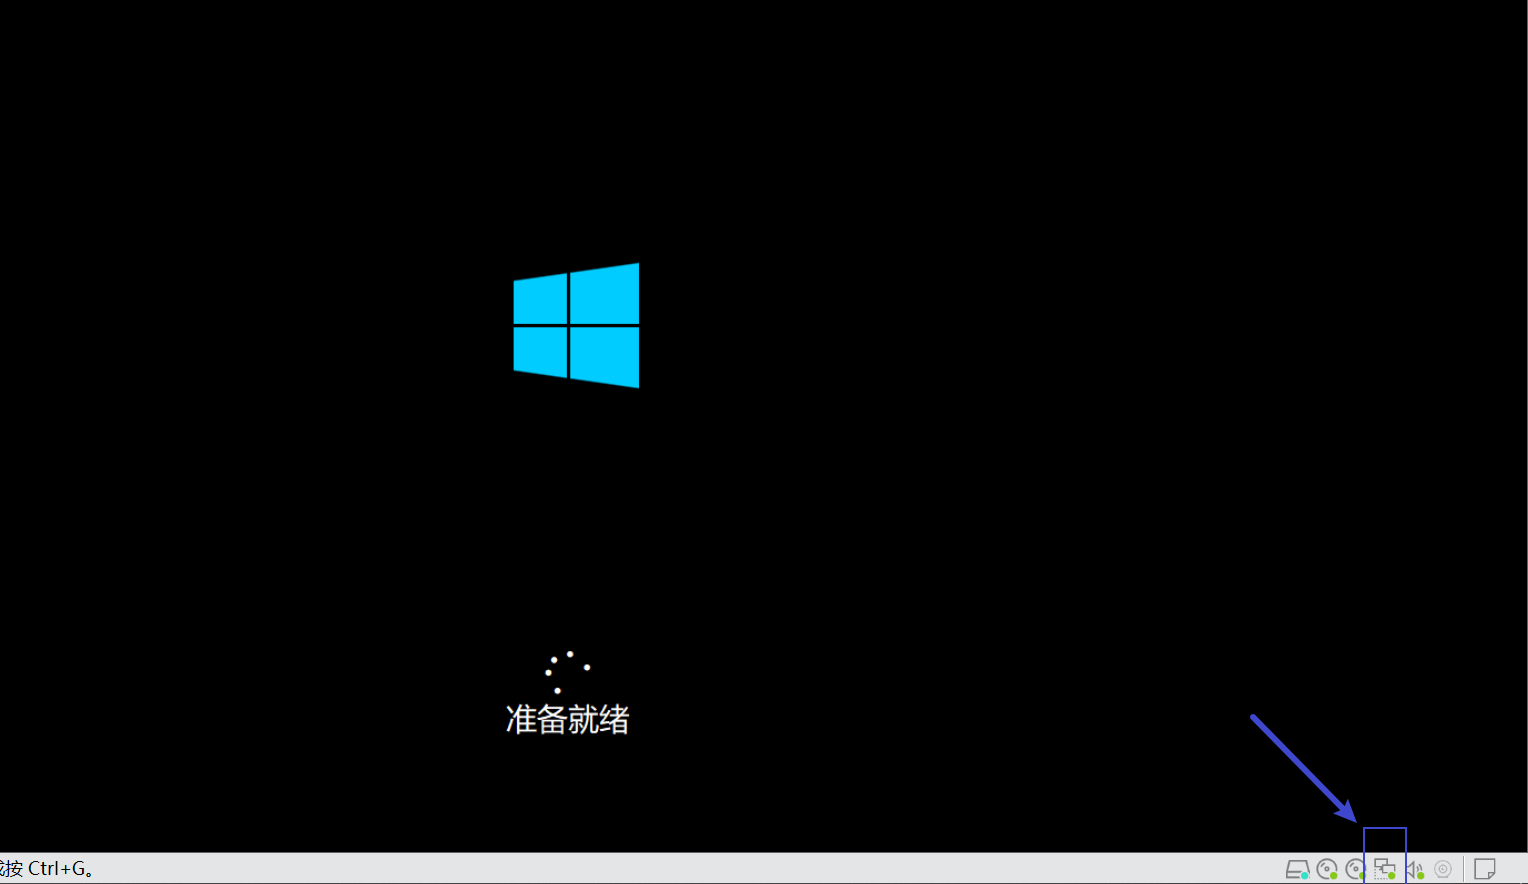
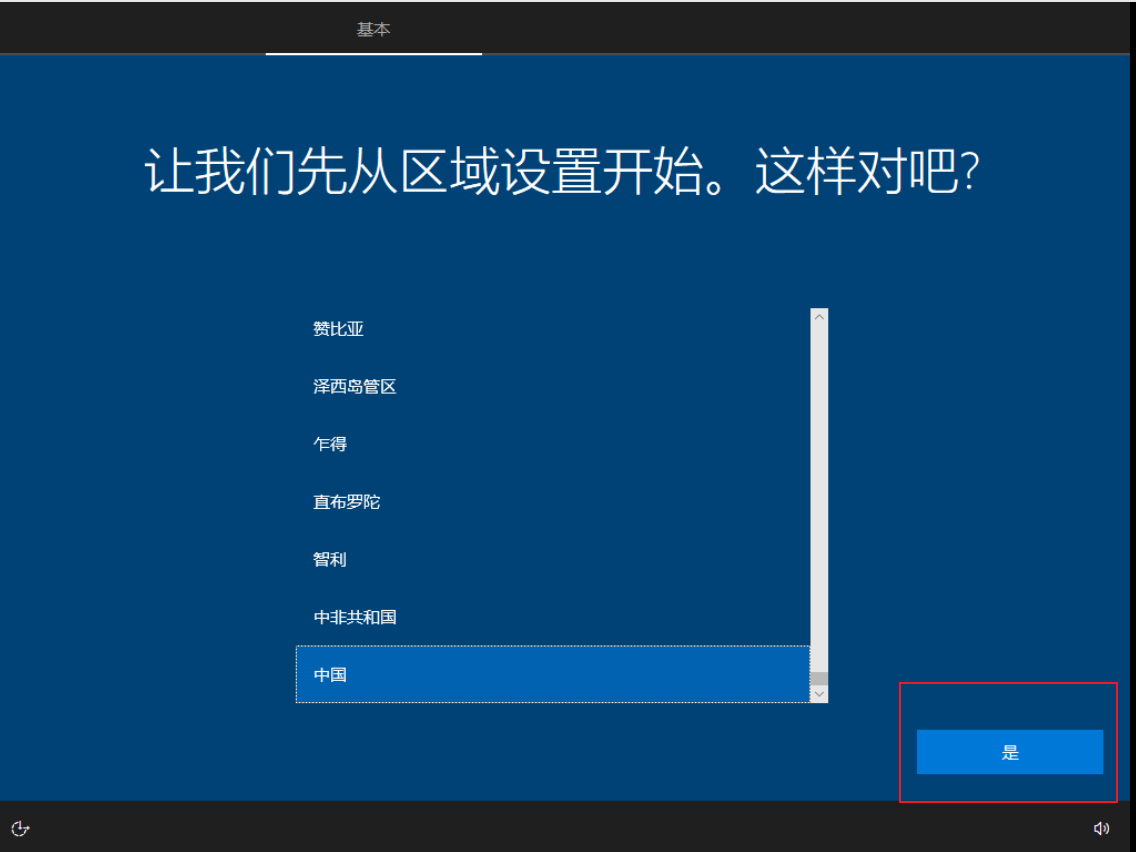
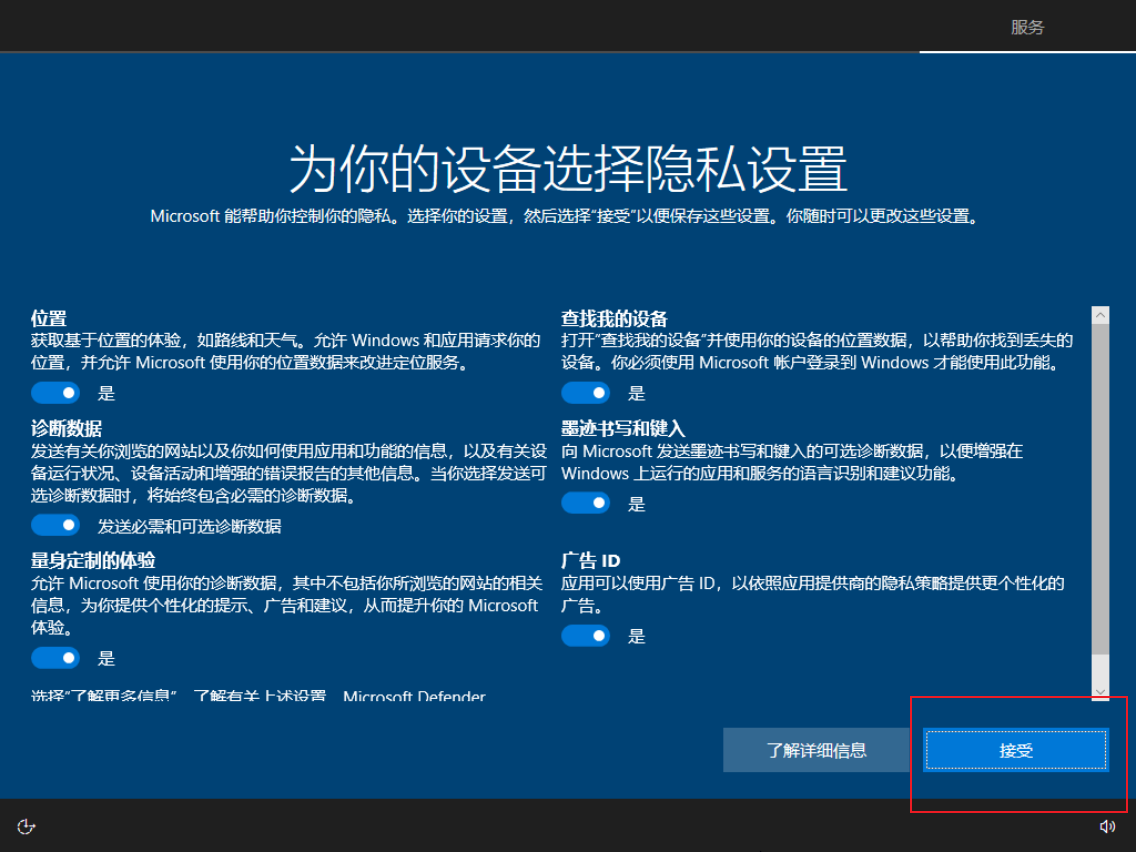
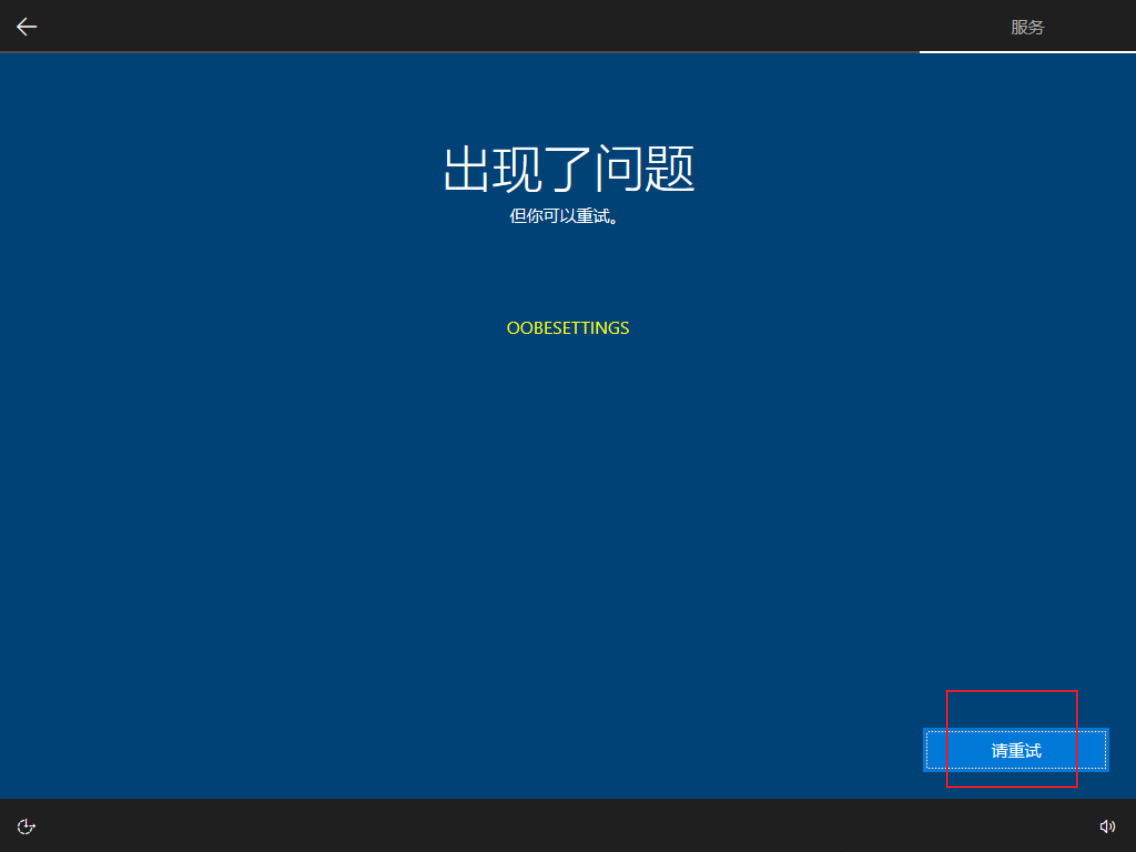
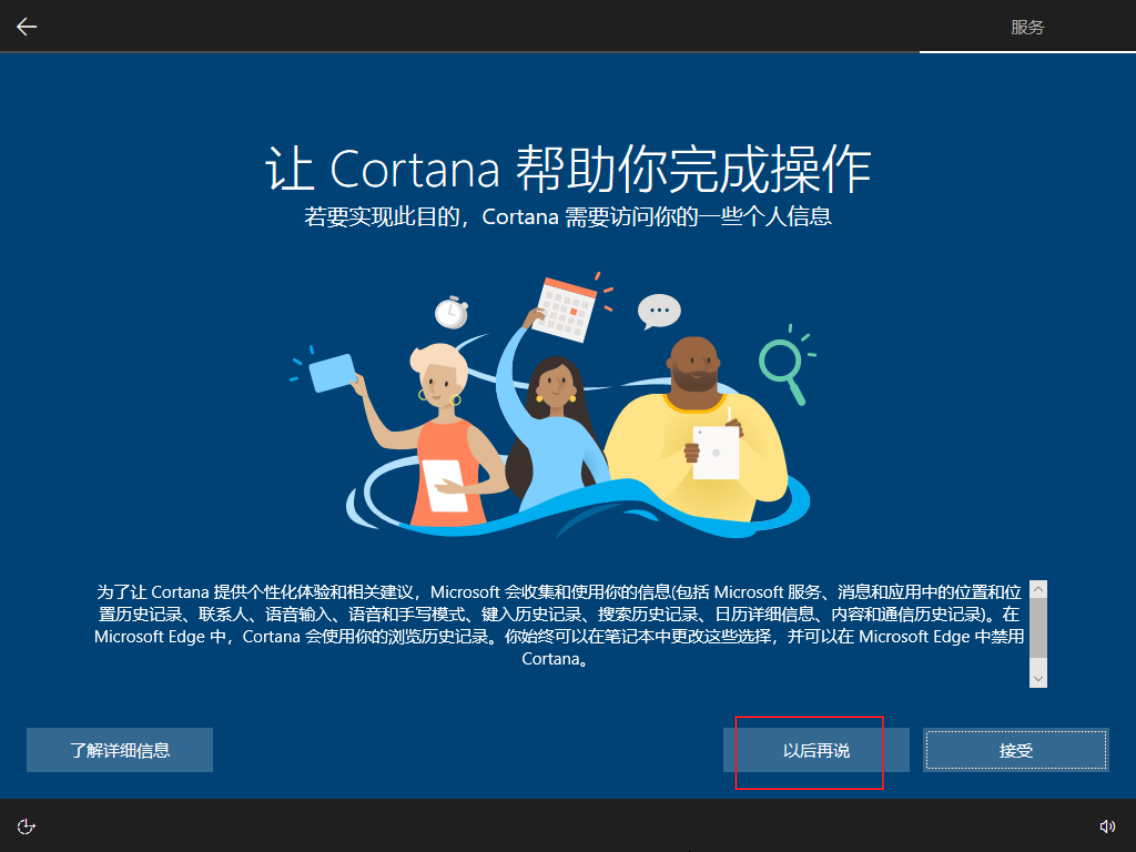
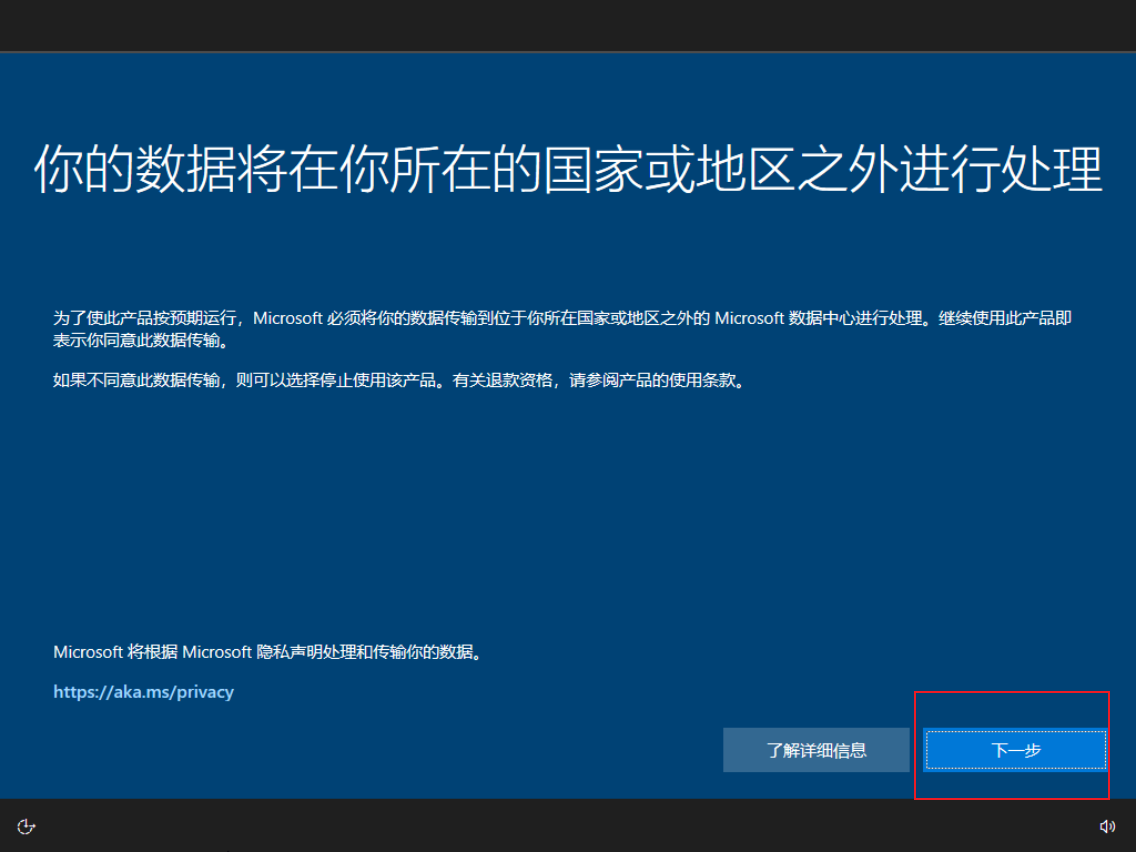
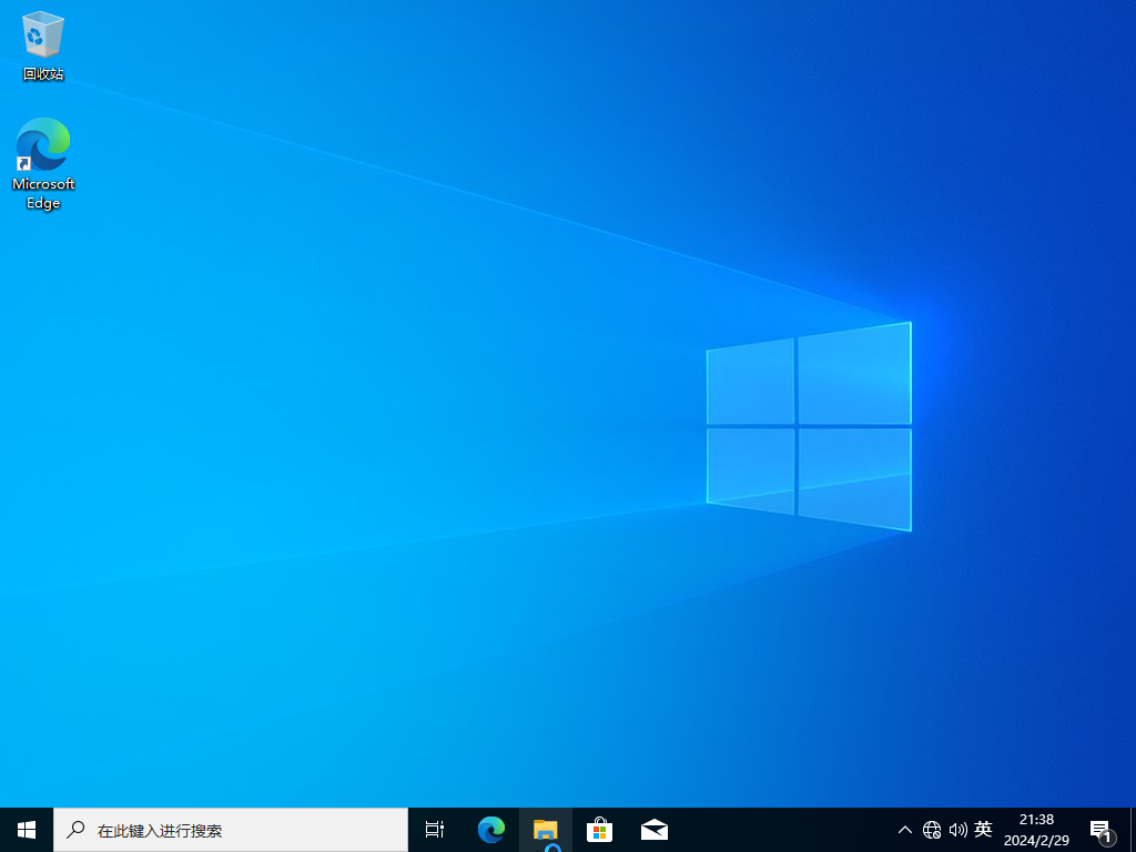
Once finished, restart and enter the Out-of-Box Experience (OOBE) phase.
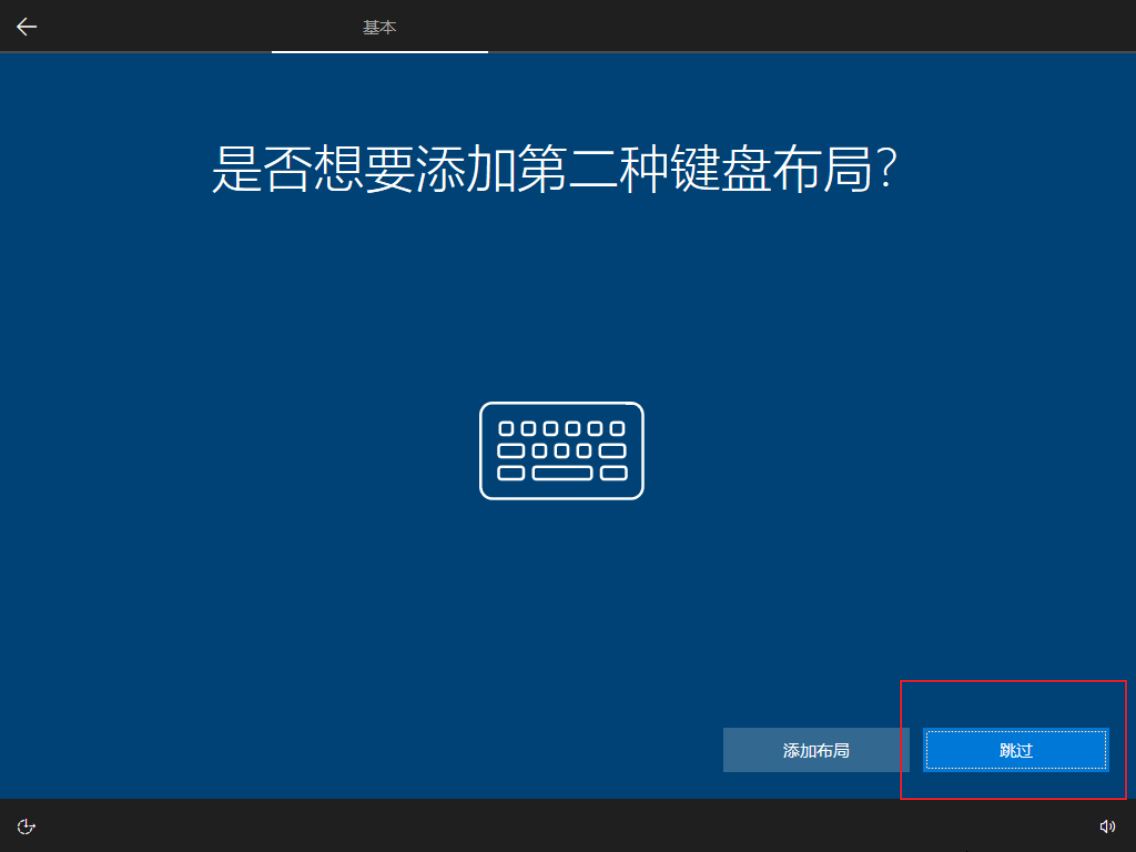
This time, you can see the entire OOBE process.
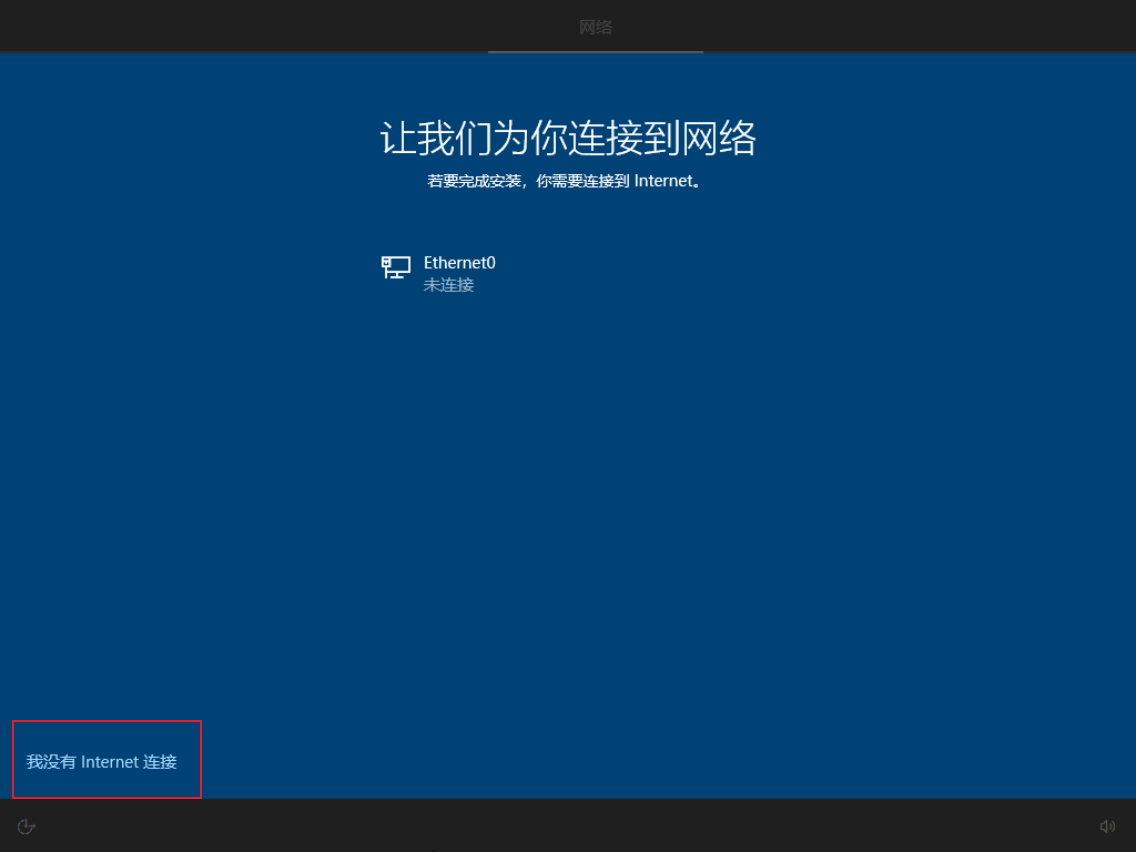
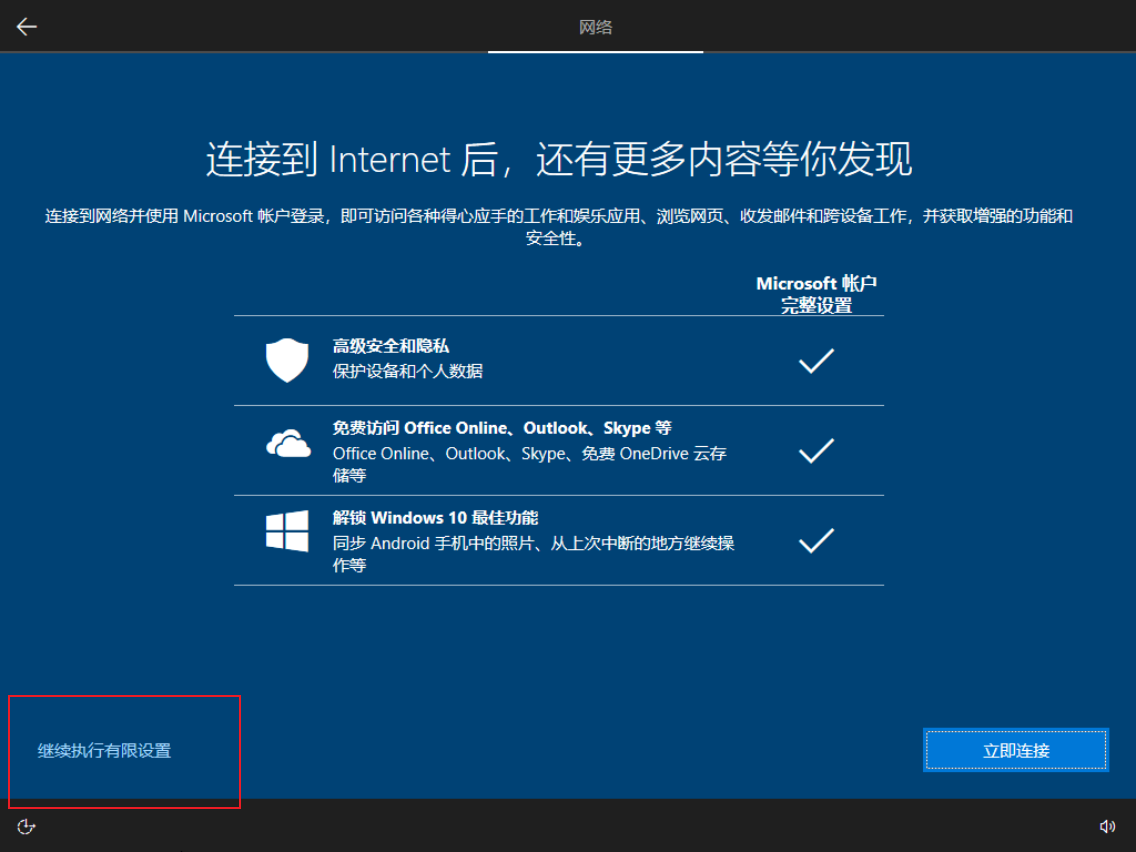
Disconnect the virtual machine’s network connection by clicking the network icon in the bottom right corner and selecting “Disconnect.”
This is to prevent unnecessary update packages from downloading and to avoid being forced to sign in with a Microsoft account during the OOBE phase.