[Technical] [Beginner's Guide] How to Configure and Operate VMWare Virtual Machines? Complete VMWare Tutorial Here!
[Technical Guide] [Beginner’s Guide] How to Configure and Operate VMware Virtual Machines? Complete VMware Tutorial Here!
VMware Workstation Pro is the most commonly used virtualization software and stands unrivaled in the world today, surpassing Hyper-V, VirtualBox, and other virtualization platforms with its powerful features. So how can we master this “dragon” among virtual machines? Follow along with the author to see the detailed operation instructions!
Installing VMware Workstation Pro
As we all know, VMware Workstation Pro requires a purchase. However, there are many cracked versions available online. The current most stable version, VMware Workstation Pro, has been upgraded to version 17.5. Follow our official account and reply with the keyword “vm” to get the download link for VMware Workstation Pro 17.5.
If you already have VMware Workstation Pro installed, you can directly use the 17.5 installer to overwrite the installation without losing your activation.
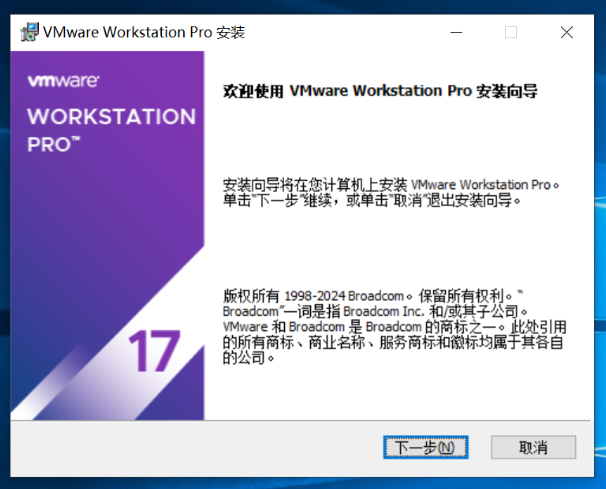
- Run the installer and click Next
Check “I accept the terms in the license agreement” and click Next
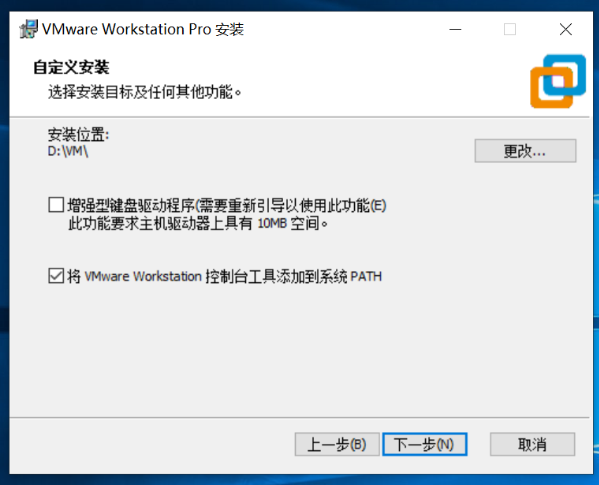
Choose the installation location (recommended to install on a non-system drive) and click Next
- Uncheck “Check for updates on startup” and “Join the VMware Customer Experience Improvement Program”
- Proceed with the default options and install
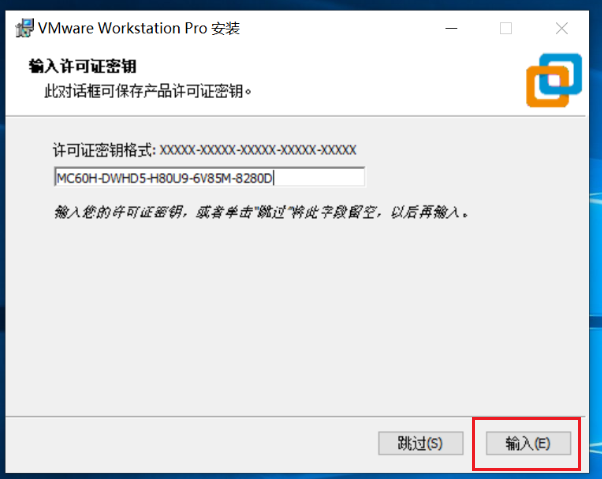
- Click “Enter License Key” at the bottom
- Enter the license key from the compressed package and click “Enter”
- Installation complete
VMware Workstation Pro Configuration Settings
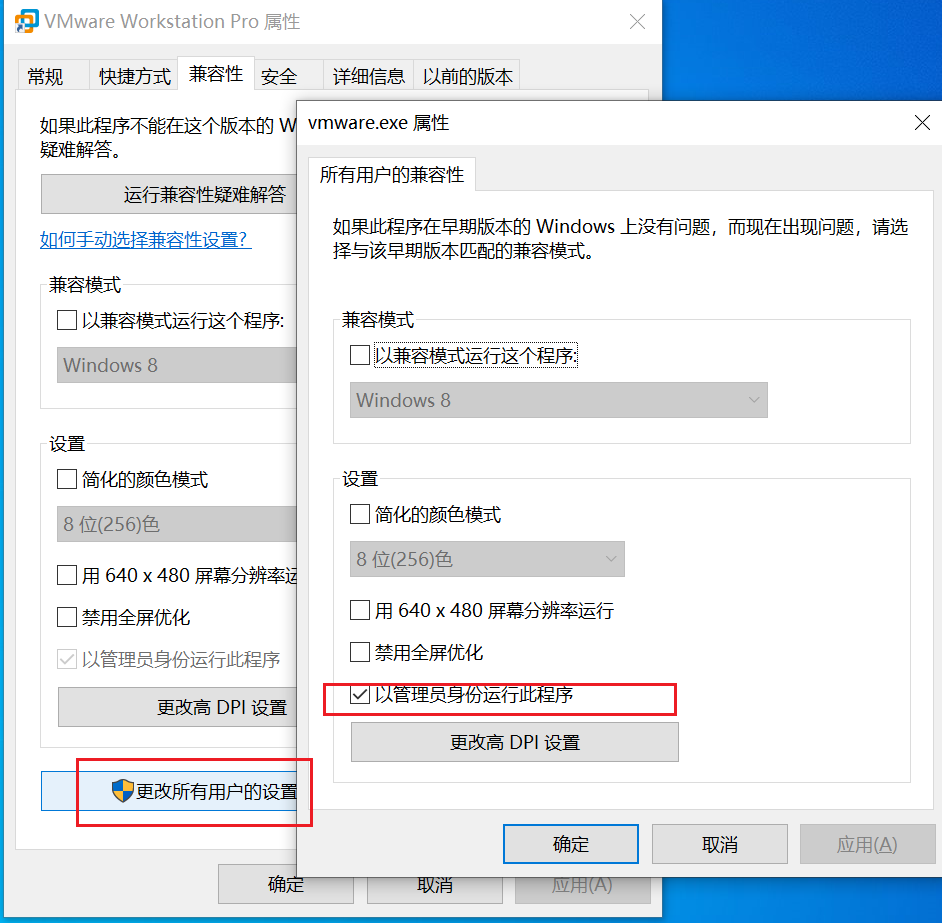
First, right-click the VMware Workstation Pro icon on the desktop and select Properties.
Click Compatibility -> Change settings for all users -> Run this program as an administrator.
It is best to run VMware Workstation Pro as an administrator because many of its features require administrator privileges.
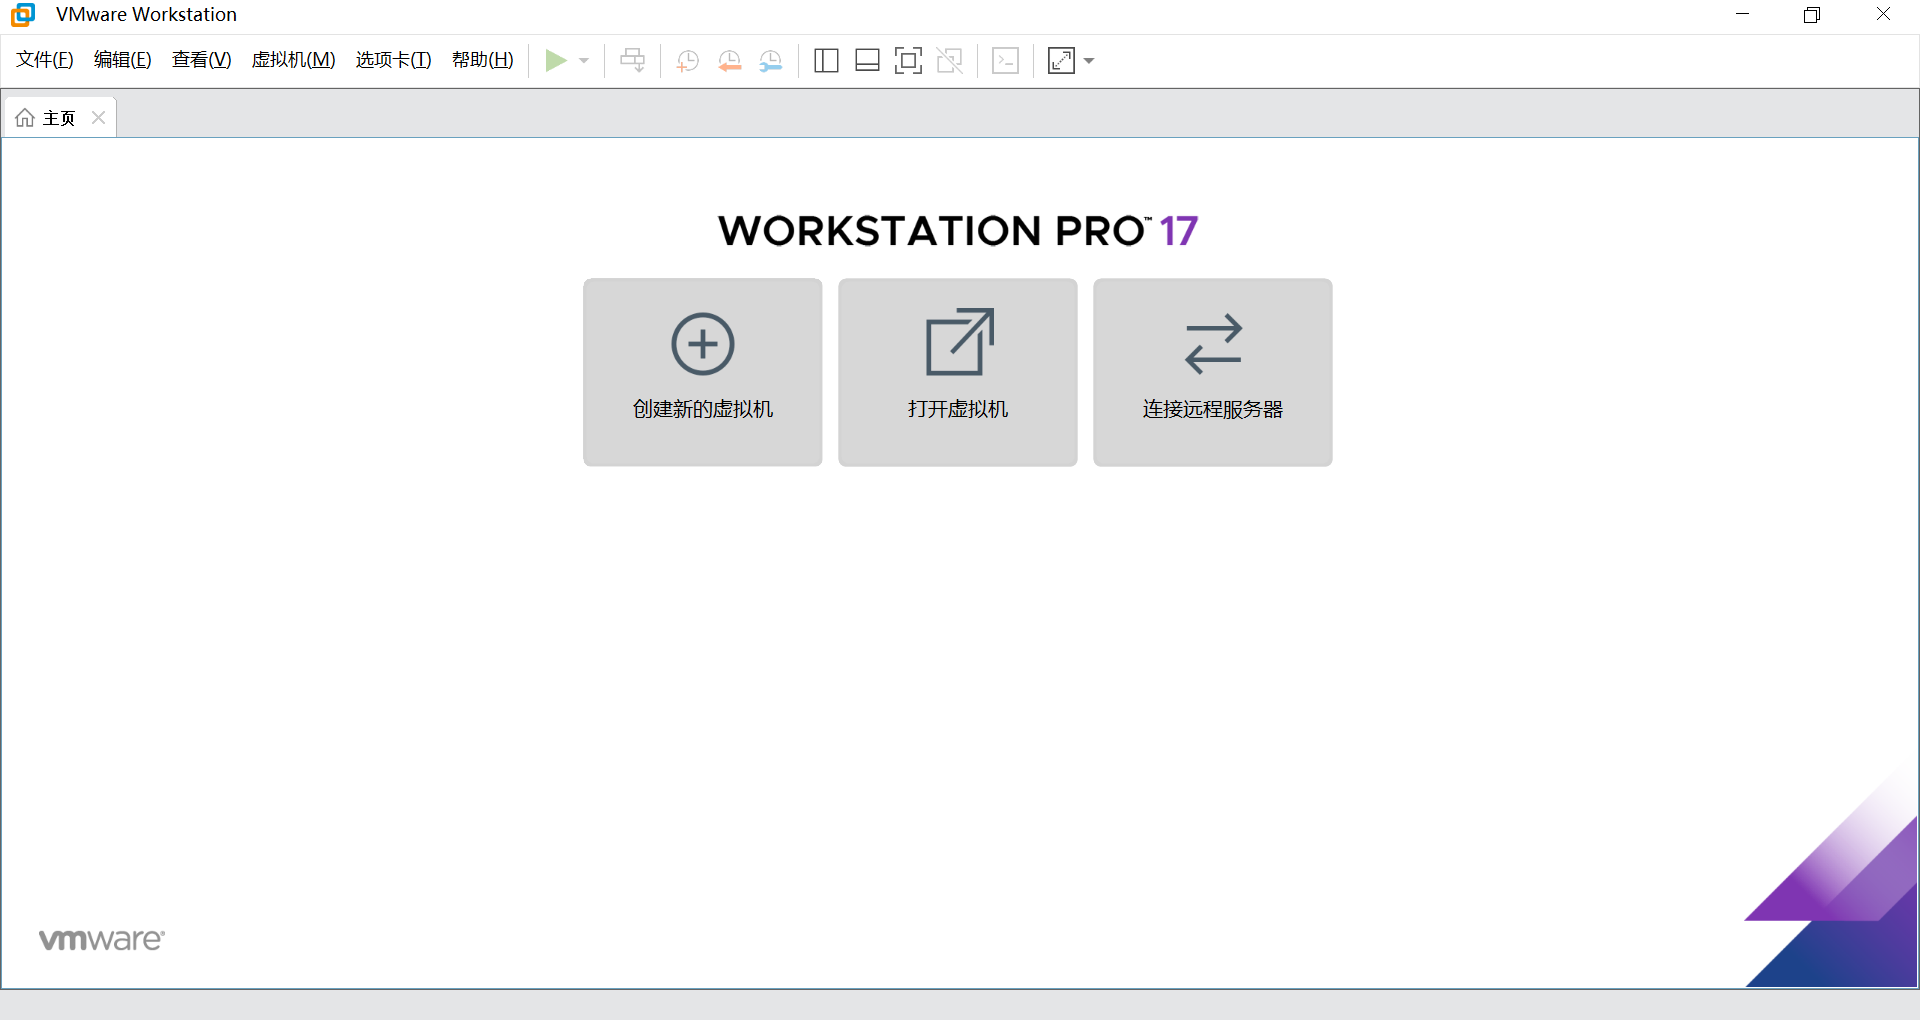
Open VMware Workstation Pro — this is its main interface.
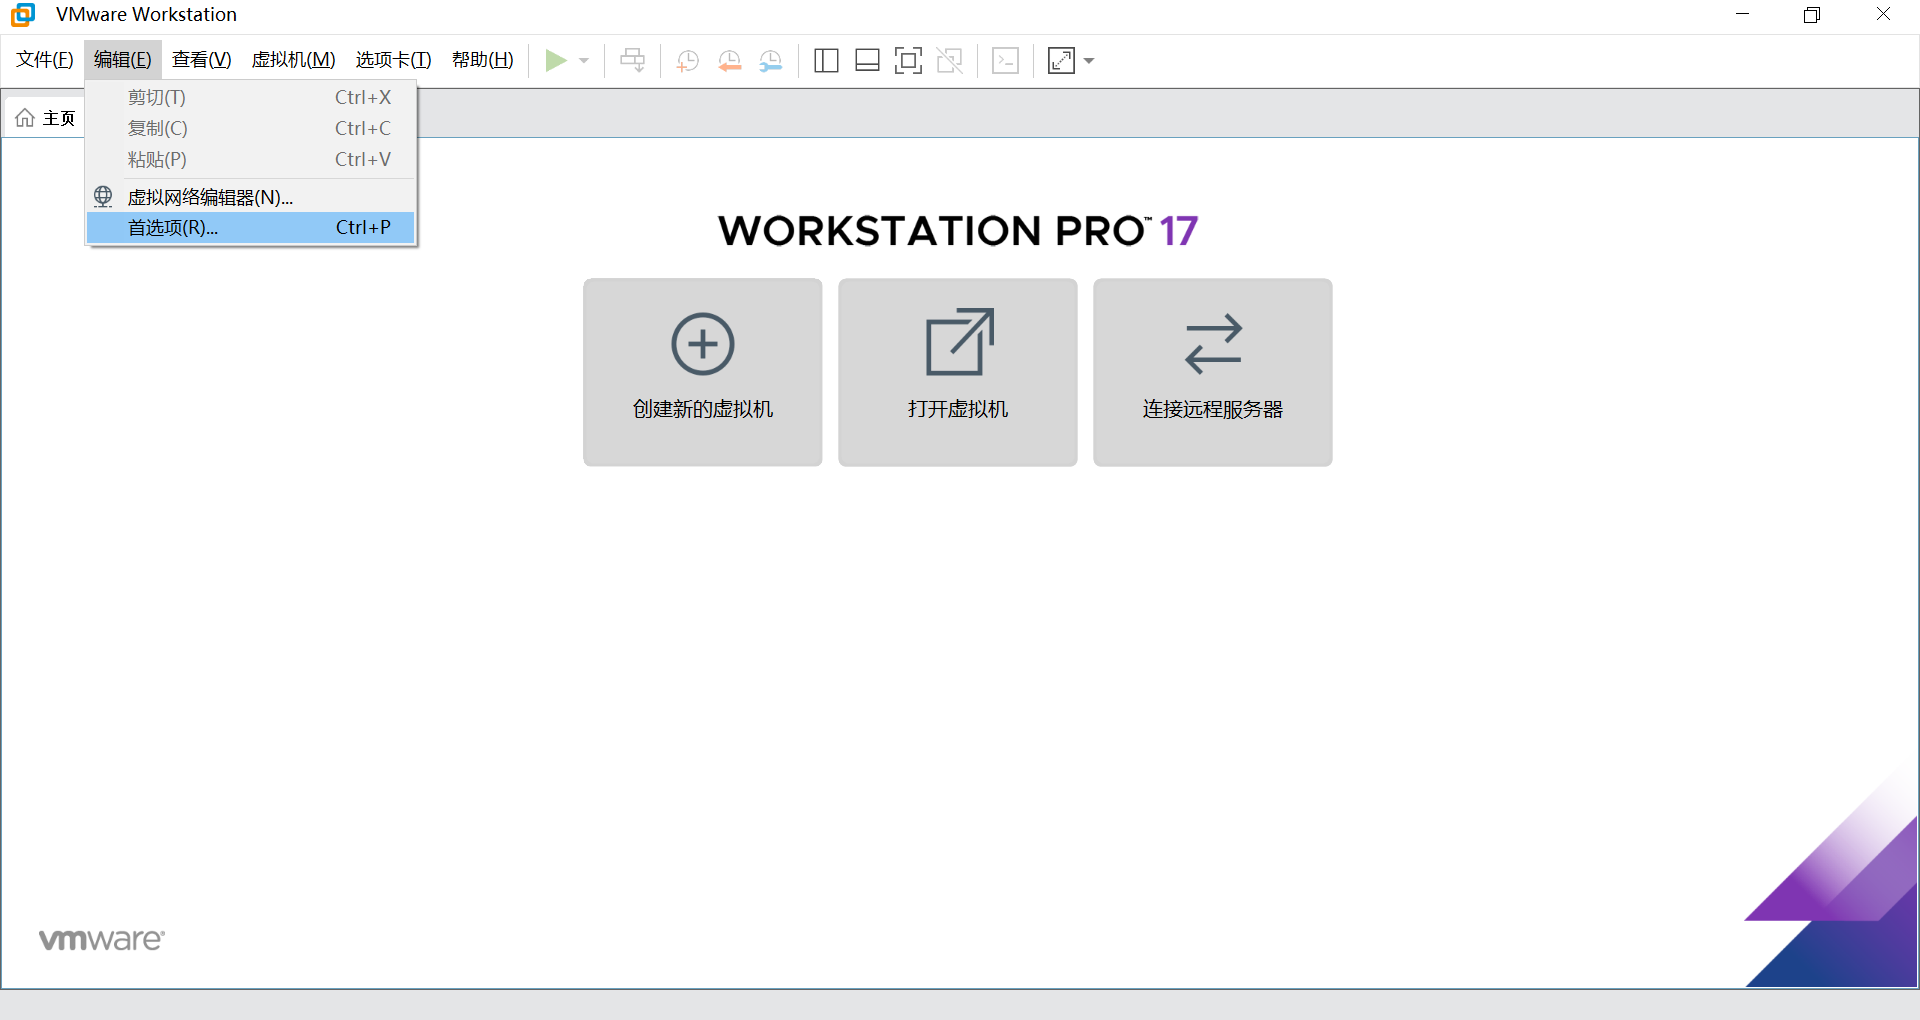
Click Edit -> Preferences in the top-left corner to edit VMware’s virtual machine settings.
The first option allows you to change the default storage location for virtual machines, saving you the trouble of selecting a save location every time you create a new virtual machine.
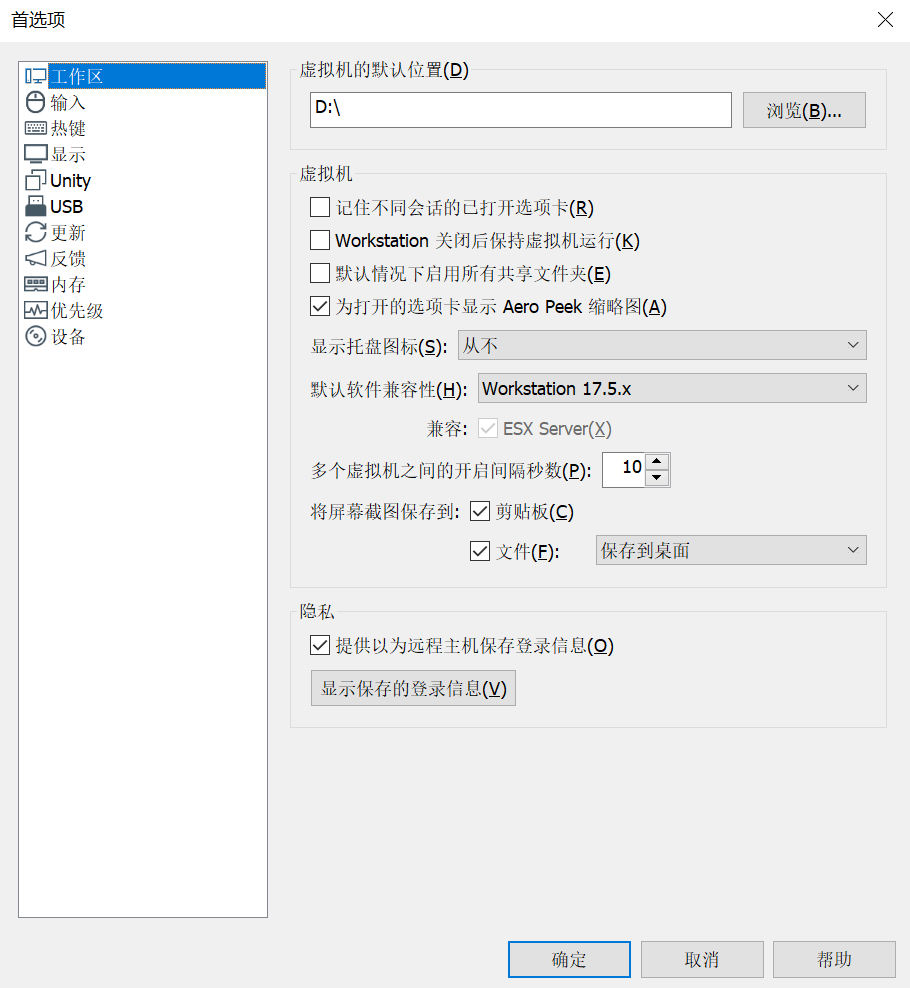
Additionally, you can change settings such as whether to display the tray icon, default software compatibility, the interval in seconds between starting multiple virtual machines, and the save location for screenshots.
In the “Input” menu, you can choose the input state for the keyboard and mouse, but the default settings are sufficient for most everyday needs, so there’s generally no need to change them.
In the “Hot Keys” menu, you can change the keyboard shortcuts for entering and exiting the virtual machine. The default hotkey to enter the virtual machine is Ctrl+G, to exit is Ctrl+Alt, and to toggle full-screen mode is Ctrl+Alt+Enter.
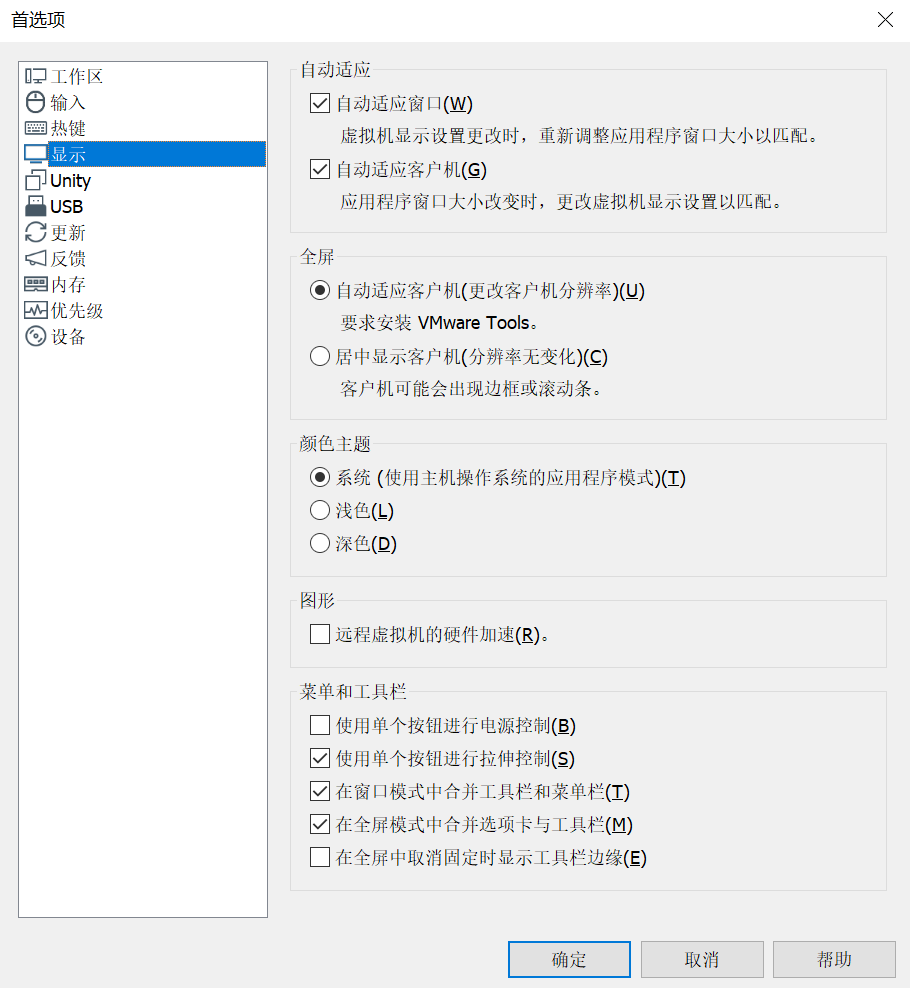
In the “Display” menu, you can set the display mode of the menu bar above the virtual machine. For example, you can set the color theme, disable “Use a single button for power control,” and “Show toolbar edge when unpinned in full screen.” These are options for personalizing your virtual machine configuration.
The “Unity” option requires the VMware Tools package to be installed. With this option, you can integrate the virtual machine into your host machine. After enabling Unity mode, you can easily transfer files between the host and virtual machine by dragging and dropping with the mouse, and the virtual machine’s screen will fully adapt to the host’s resolution and display size. This feature primarily simplifies virtual machine operations and provides seamless integration with the host machine.
The other settings options are not very useful and will not be covered here.
Creating a New Virtual Machine
Press Ctrl+Shift+Alt and click the “File” button in the top-left corner to create a VMware Easter egg virtual machine and play ping pong with the virtual machine.
Steps to create a new virtual machine:
- Click File -> New Virtual Machine -> Typical, then click Next
- You can choose to install from an installer disc, an installer disc image file (ISO), or install the operating system later.
- If you choose an installer disc image file, select an ISO file.
- Select the guest operating system. We choose Windows. If installing Windows 11, selecting Windows 11 will automatically generate a TPM 2.0 module in the virtual machine to prevent the Windows 11 installer from failing the TPM check. Windows 10 does not have this restriction.
- Virtual machine name: Give the virtual machine any name. The virtual machine will be created in the default folder. The folder name will match the virtual machine name by default.
- Allocate disk space: You can create a virtual disk. It is recommended to store the virtual disk as a single file.
- Click Finish to create the virtual machine.
Virtual Machine Configuration
Click “Edit Virtual Machine Settings” to edit the virtual machine’s hardware.
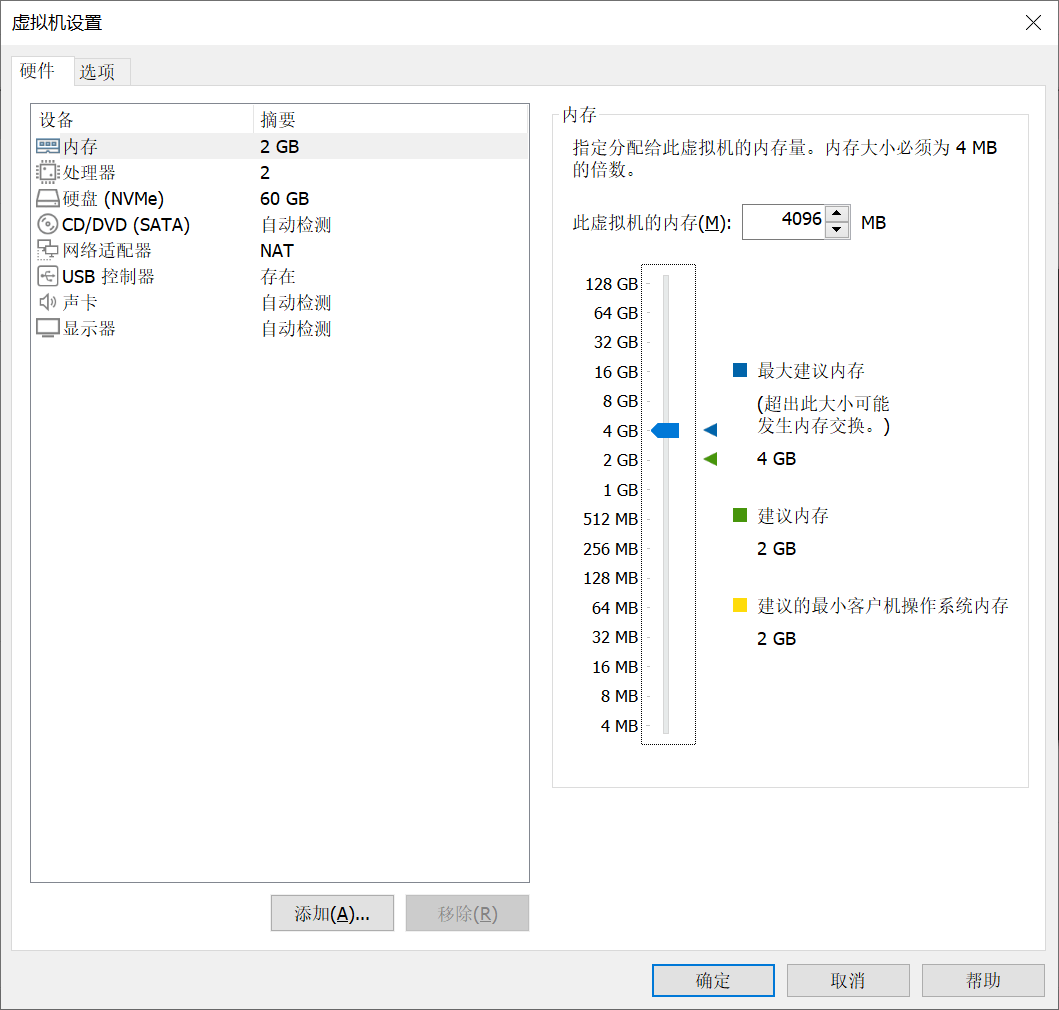
Memory: 4 GB is recommended for Windows 10, and 8 GB for Windows 11.
Processors: The number of processors is the number of CPUs assigned to the virtual machine. The number of cores per processor multiplied by the number of CPUs must not exceed the total number of cores on the host machine. Otherwise, the virtual machine will not start.
Hard Disk: This is the virtual disk you just created.
CD/DVD Drive: This is the ISO file, virtual drive, or physical drive you selected.
Network Adapter: This is the virtual machine’s network card. The default settings are generally sufficient for the virtual machine to connect to the internet normally.
USB Controller: Controls external storage devices.
Sound Card: You can set it to use the default sound card or a specified sound card.
Display: Enabling 3D acceleration can speed up the virtual machine’s performance, but some computers cannot enable it due to hardware limitations.
Click “Add” at the bottom to add new hardware, such as new virtual hardware or physical hardware.
Starting the Virtual Machine
Click “Power On This Virtual Machine” to start the virtual machine and install the operating system or boot into a PE system.
Click the rightmost icon in the menu bar and select “Stretch with Aspect Ratio” to maximize the virtual machine’s display area.
Click the fourth icon from the right to enter full-screen mode. Click the leftmost pin icon to unlock the menu bar display.
Shortcuts:
- Ctrl+E: Shut down the virtual machine
- Ctrl+D: Open virtual machine settings
- Ctrl+R: Restart the virtual machine
- Ctrl+B: Start the virtual machine
- Ctrl+Alt: Exit the virtual machine
- Ctrl+G: Enter the virtual machine
- Ctrl+Alt+Enter: Toggle full-screen mode
Virtual Machine Snapshots
To save the working state of a virtual machine at a specific moment so you can restore it if something goes wrong, you can take a snapshot of the virtual machine.
Click Virtual Machine -> Snapshot -> Take Snapshot to capture the current state of the virtual machine (or click the three-clock icon in the menu bar).
Restore Snapshot: Restore the virtual machine to the state it was in when the snapshot was taken.
It is recommended to shut down the virtual machine before taking a snapshot!
You can take multiple snapshots for a single virtual machine and restore them at any time.
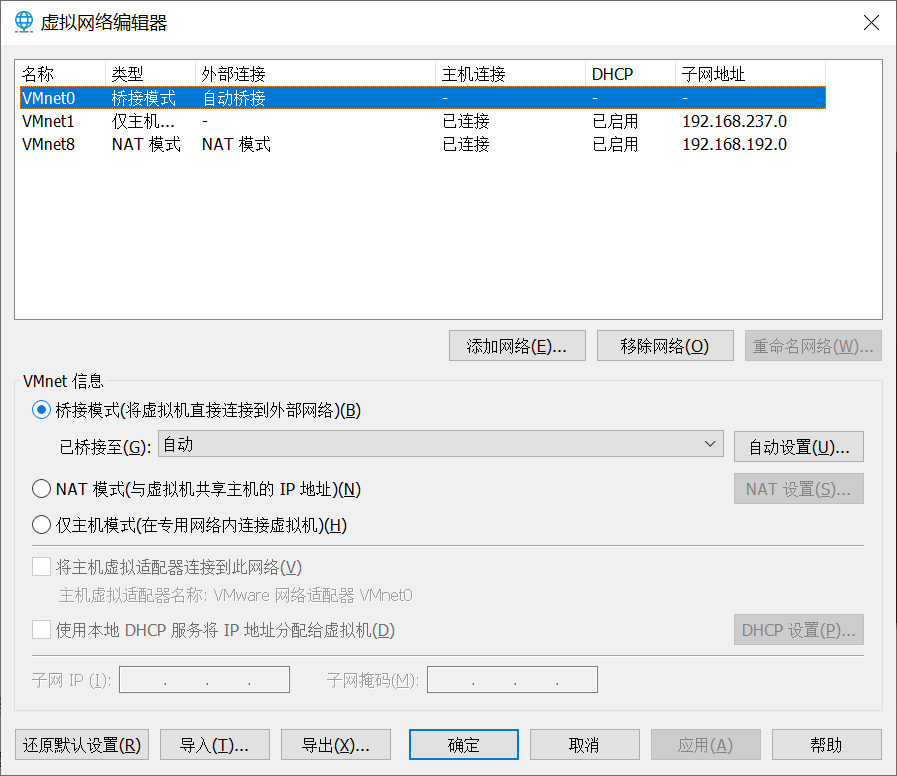
Virtual Machine Networking
Click Edit -> Virtual Network Editor to edit the virtual machine’s network configuration.
Miscellaneous
“File” -> “Configure Auto Start Virtual Machines” allows you to automatically start selected virtual machines during the physical host’s boot process.
“File” -> “Connect to Server” allows you to connect to virtual machines on a VMware ESXi server. This feature is rarely used and requires a server with the ESXi system installed.
“File” -> “Export to OVF” allows you to export the current virtual machine as an OVF file for transfer to others or for backup.
“Help” -> “About VMware Workstation” allows you to check whether VMware is activated.